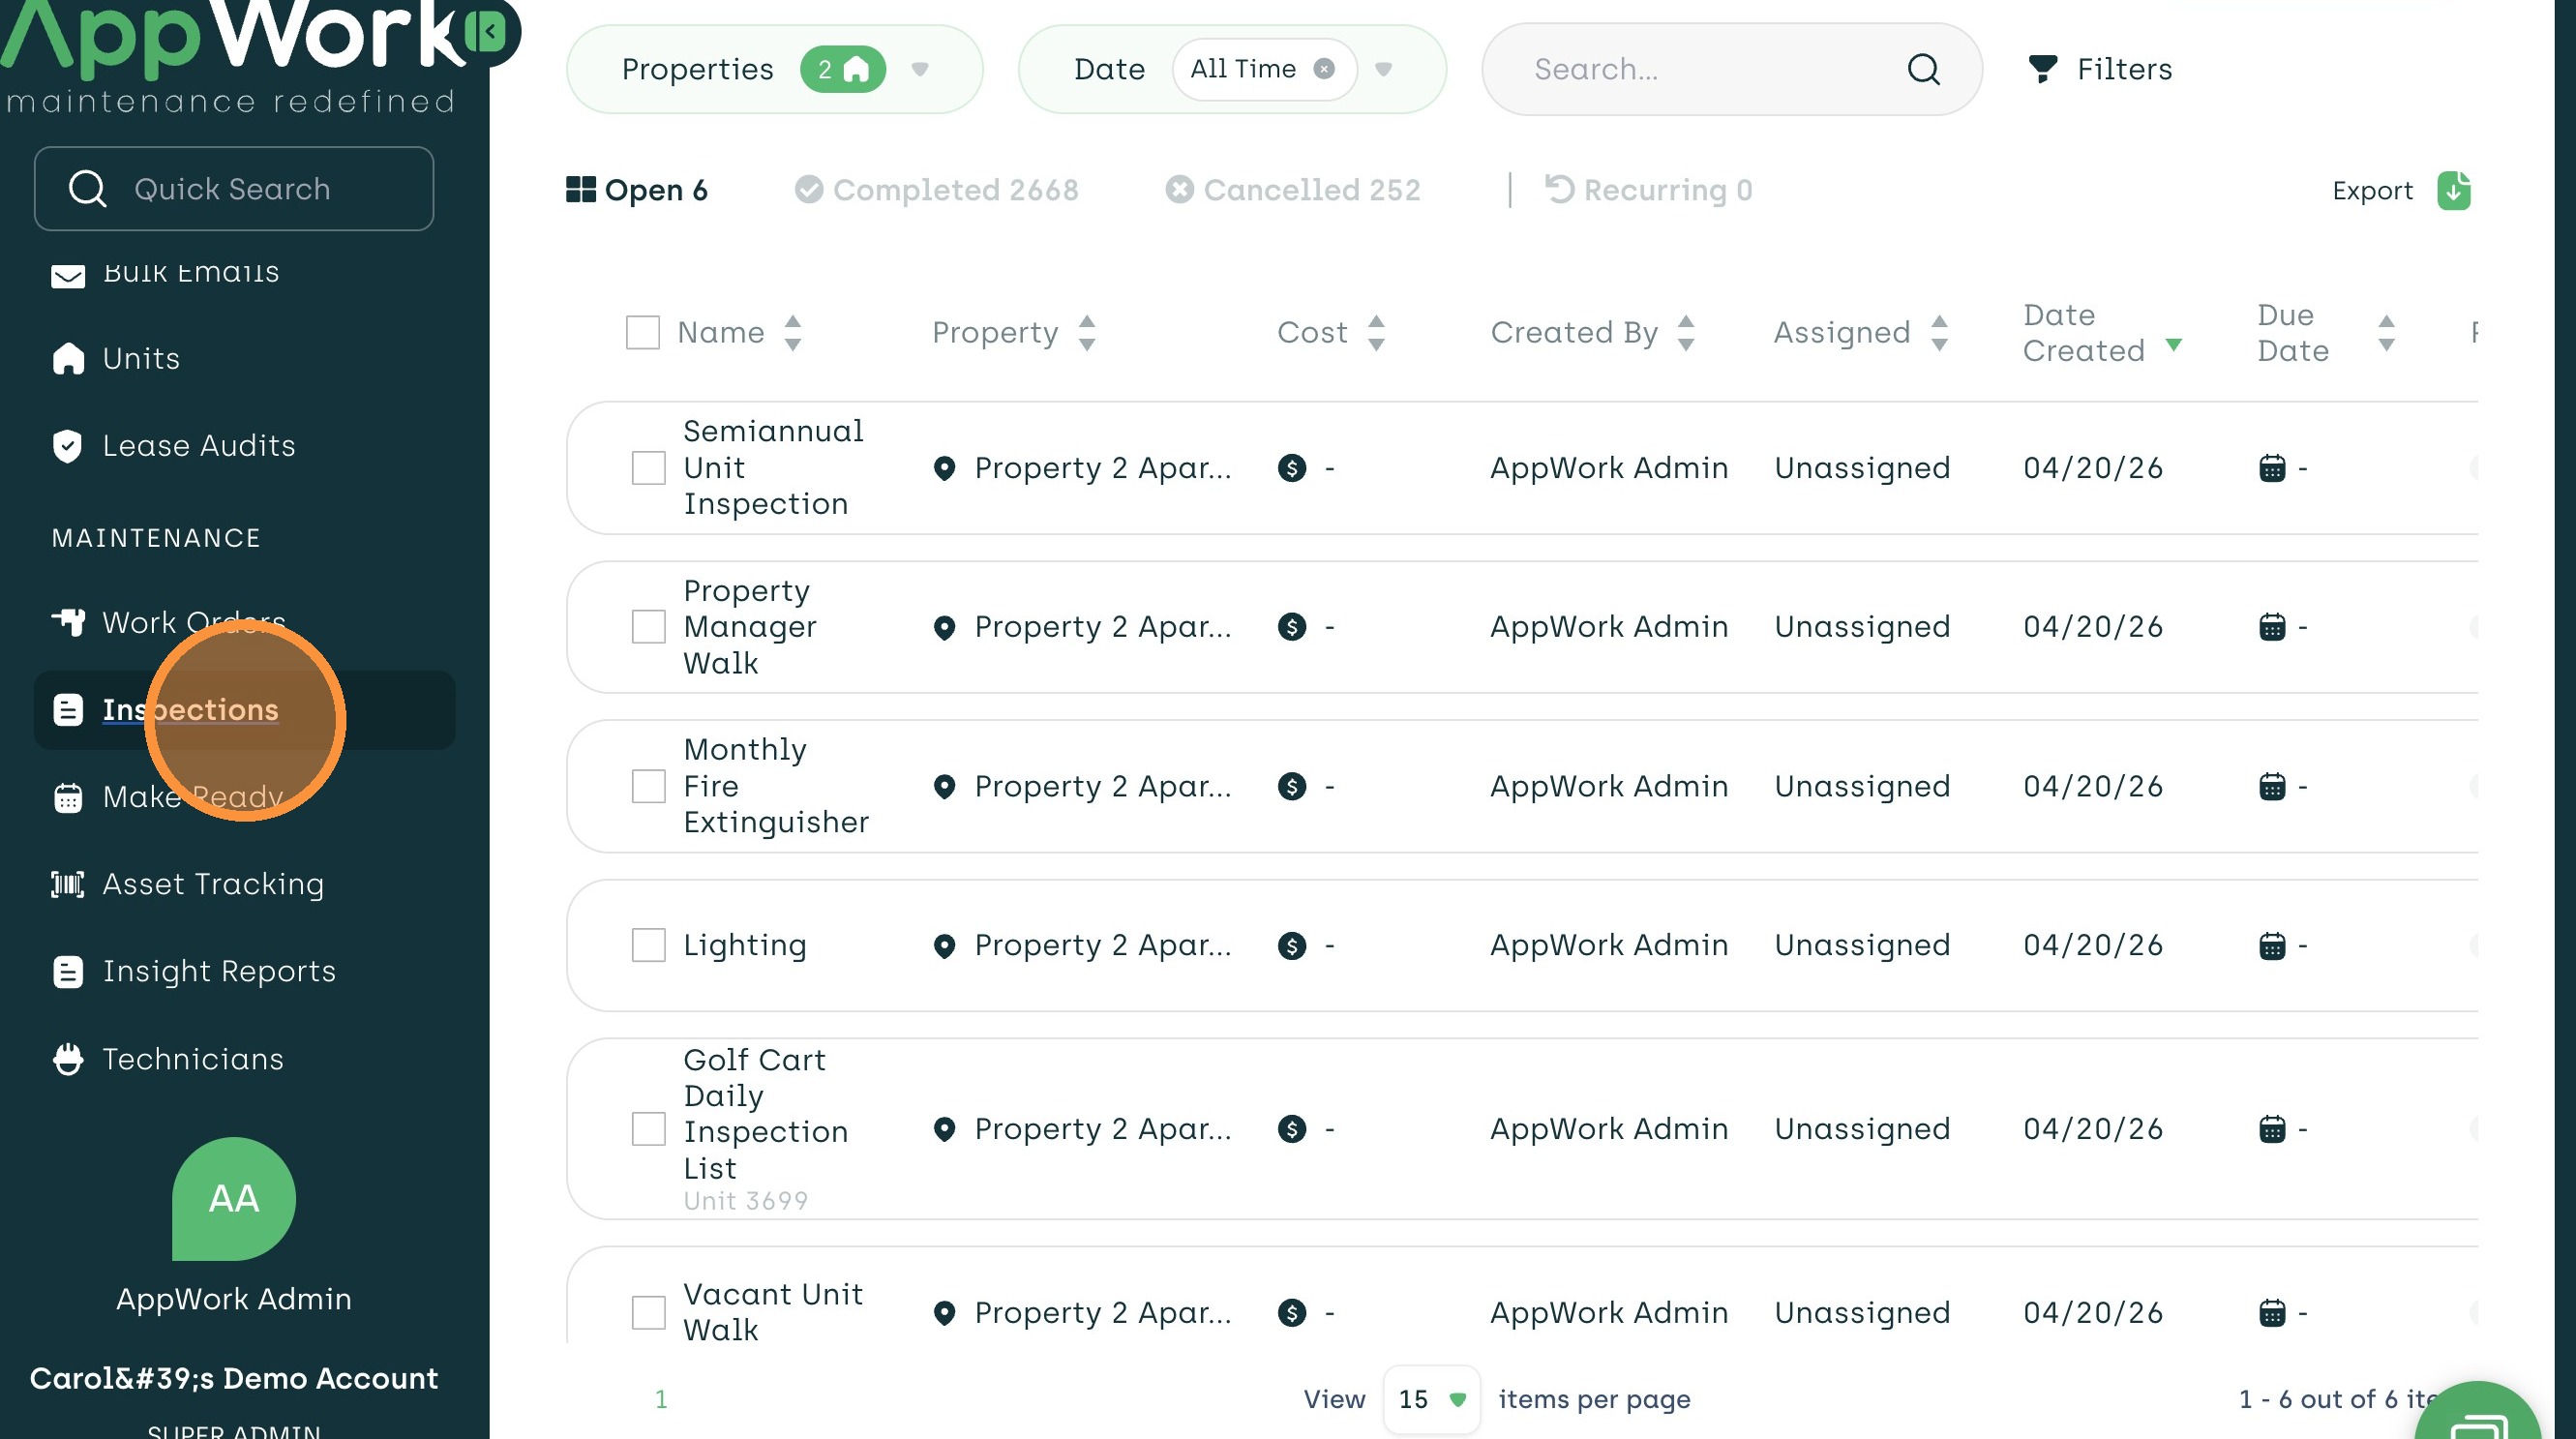
1. Navigate to the Inspections Tab in the sidebar menu.
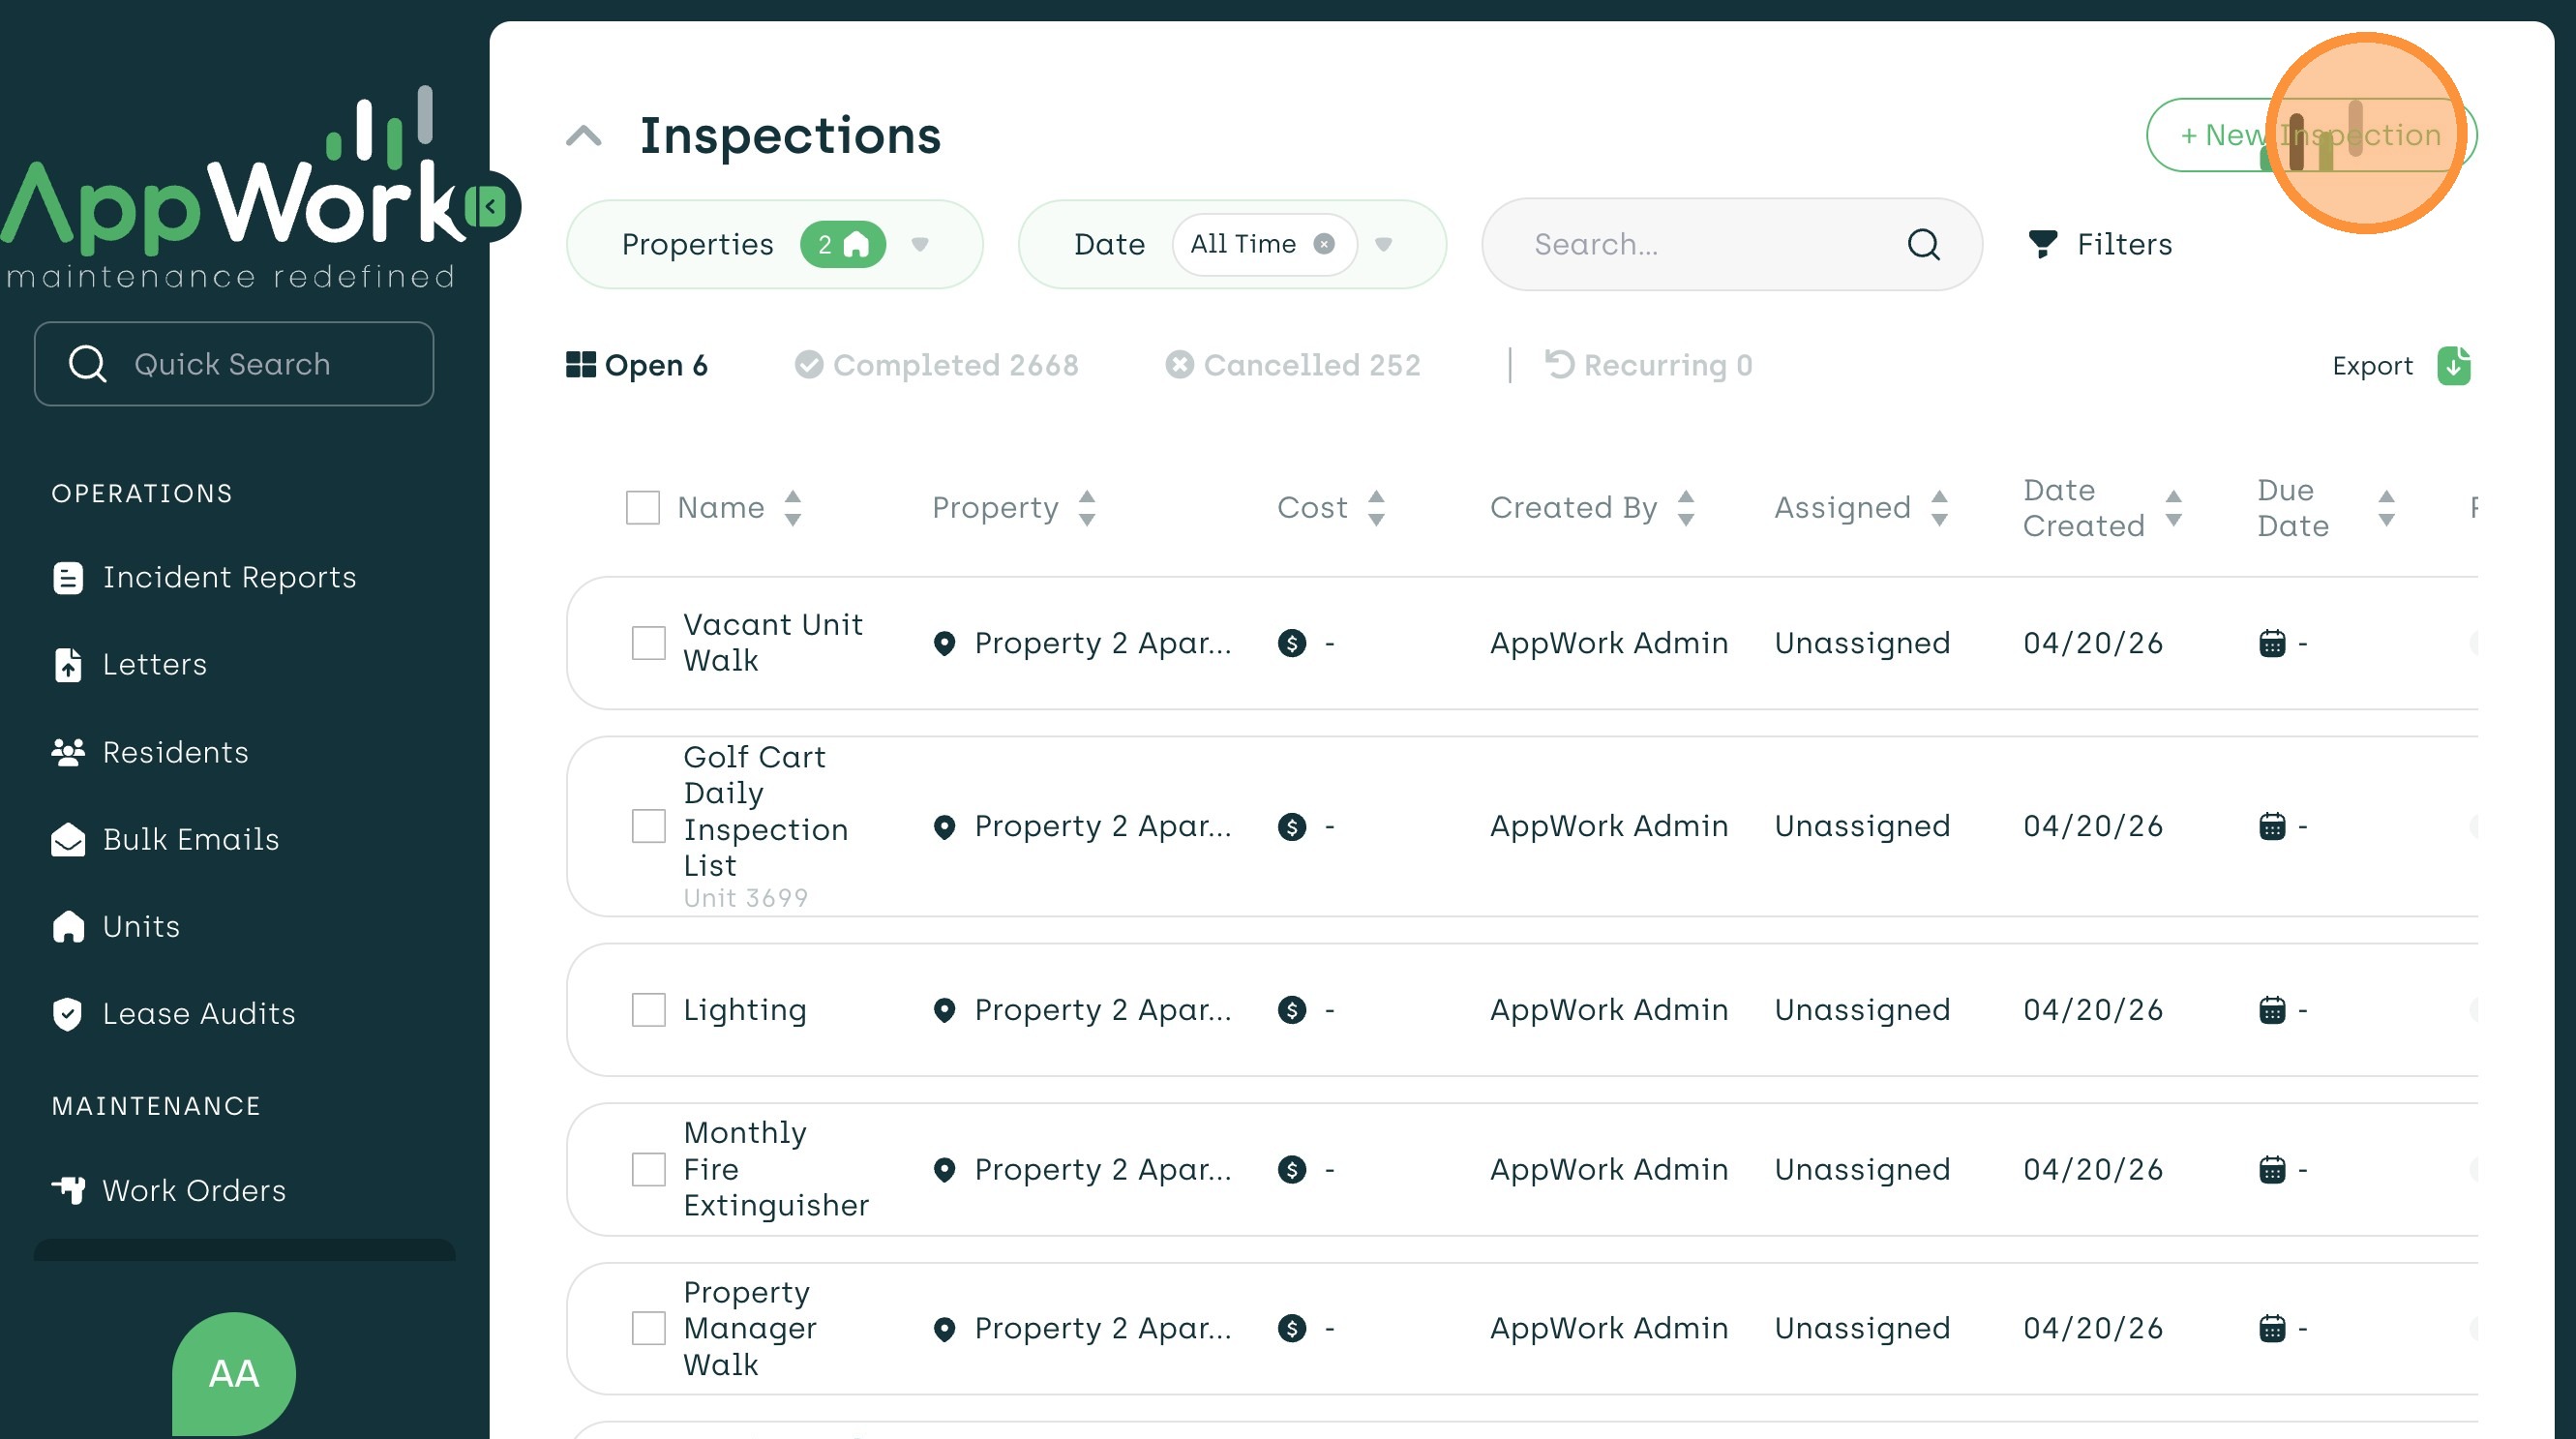
2. Select + New Inspection in the top right corner.
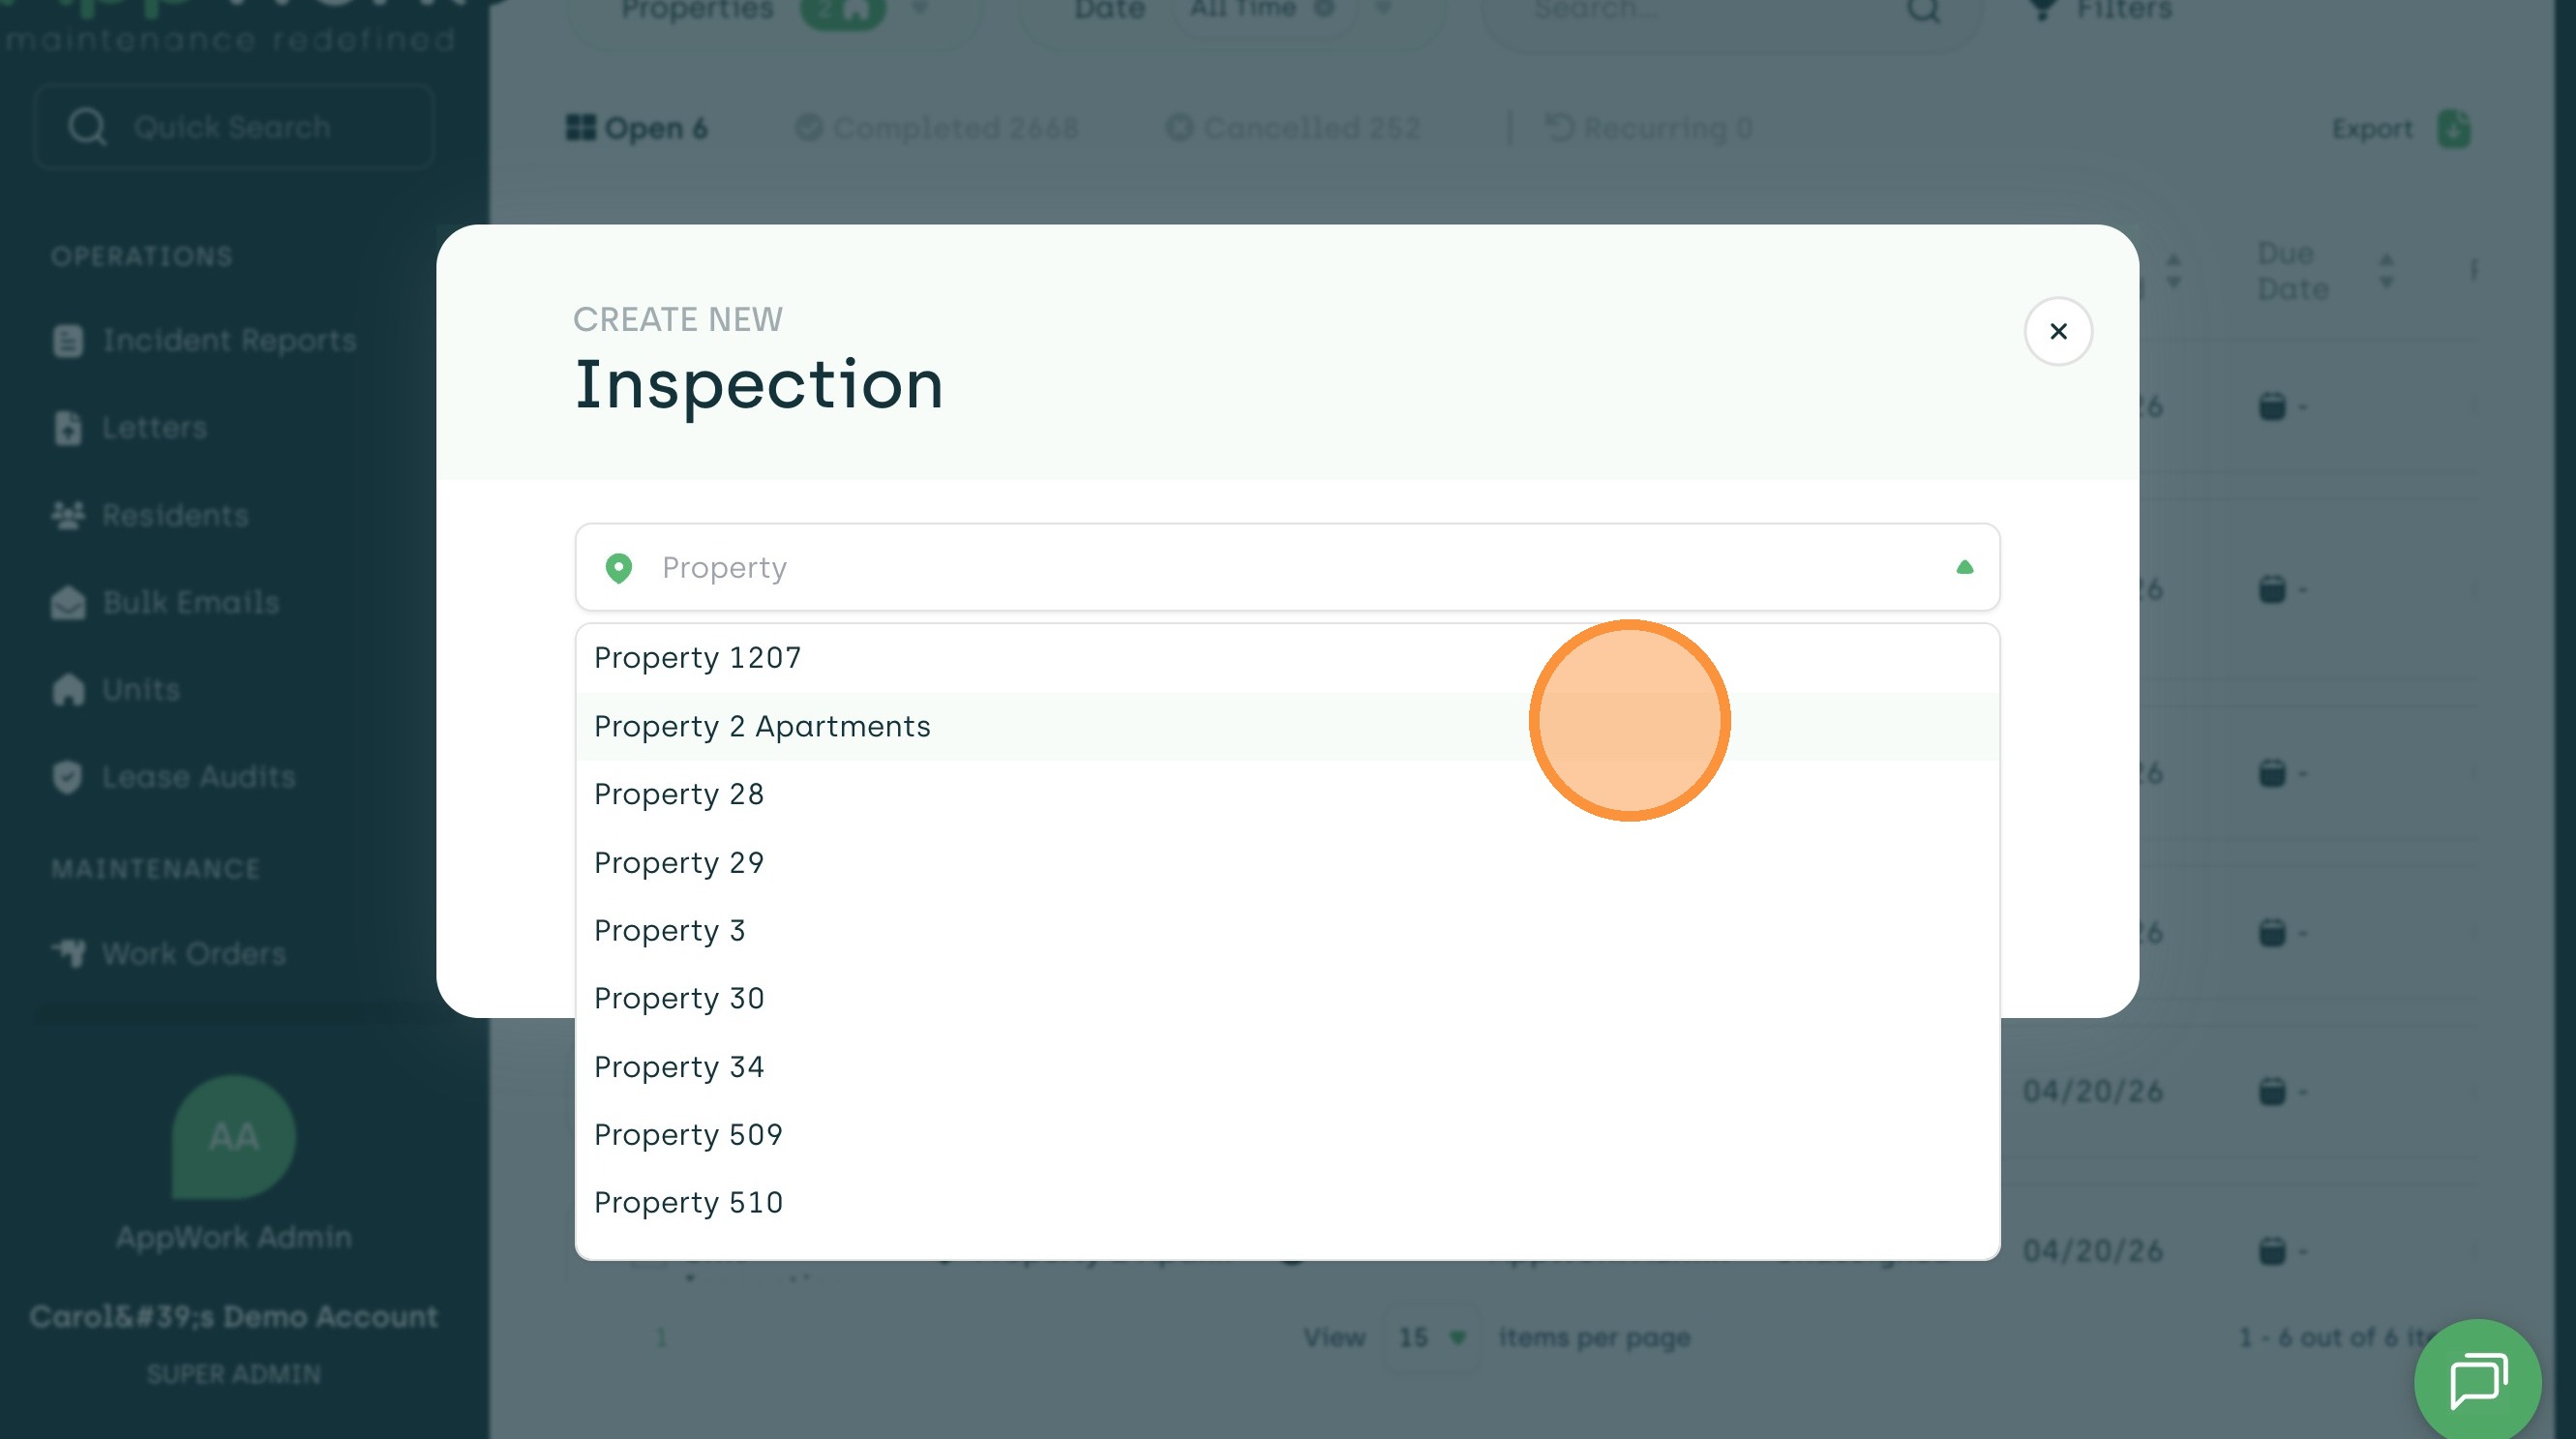
3. Choose a property from the property dropdown.
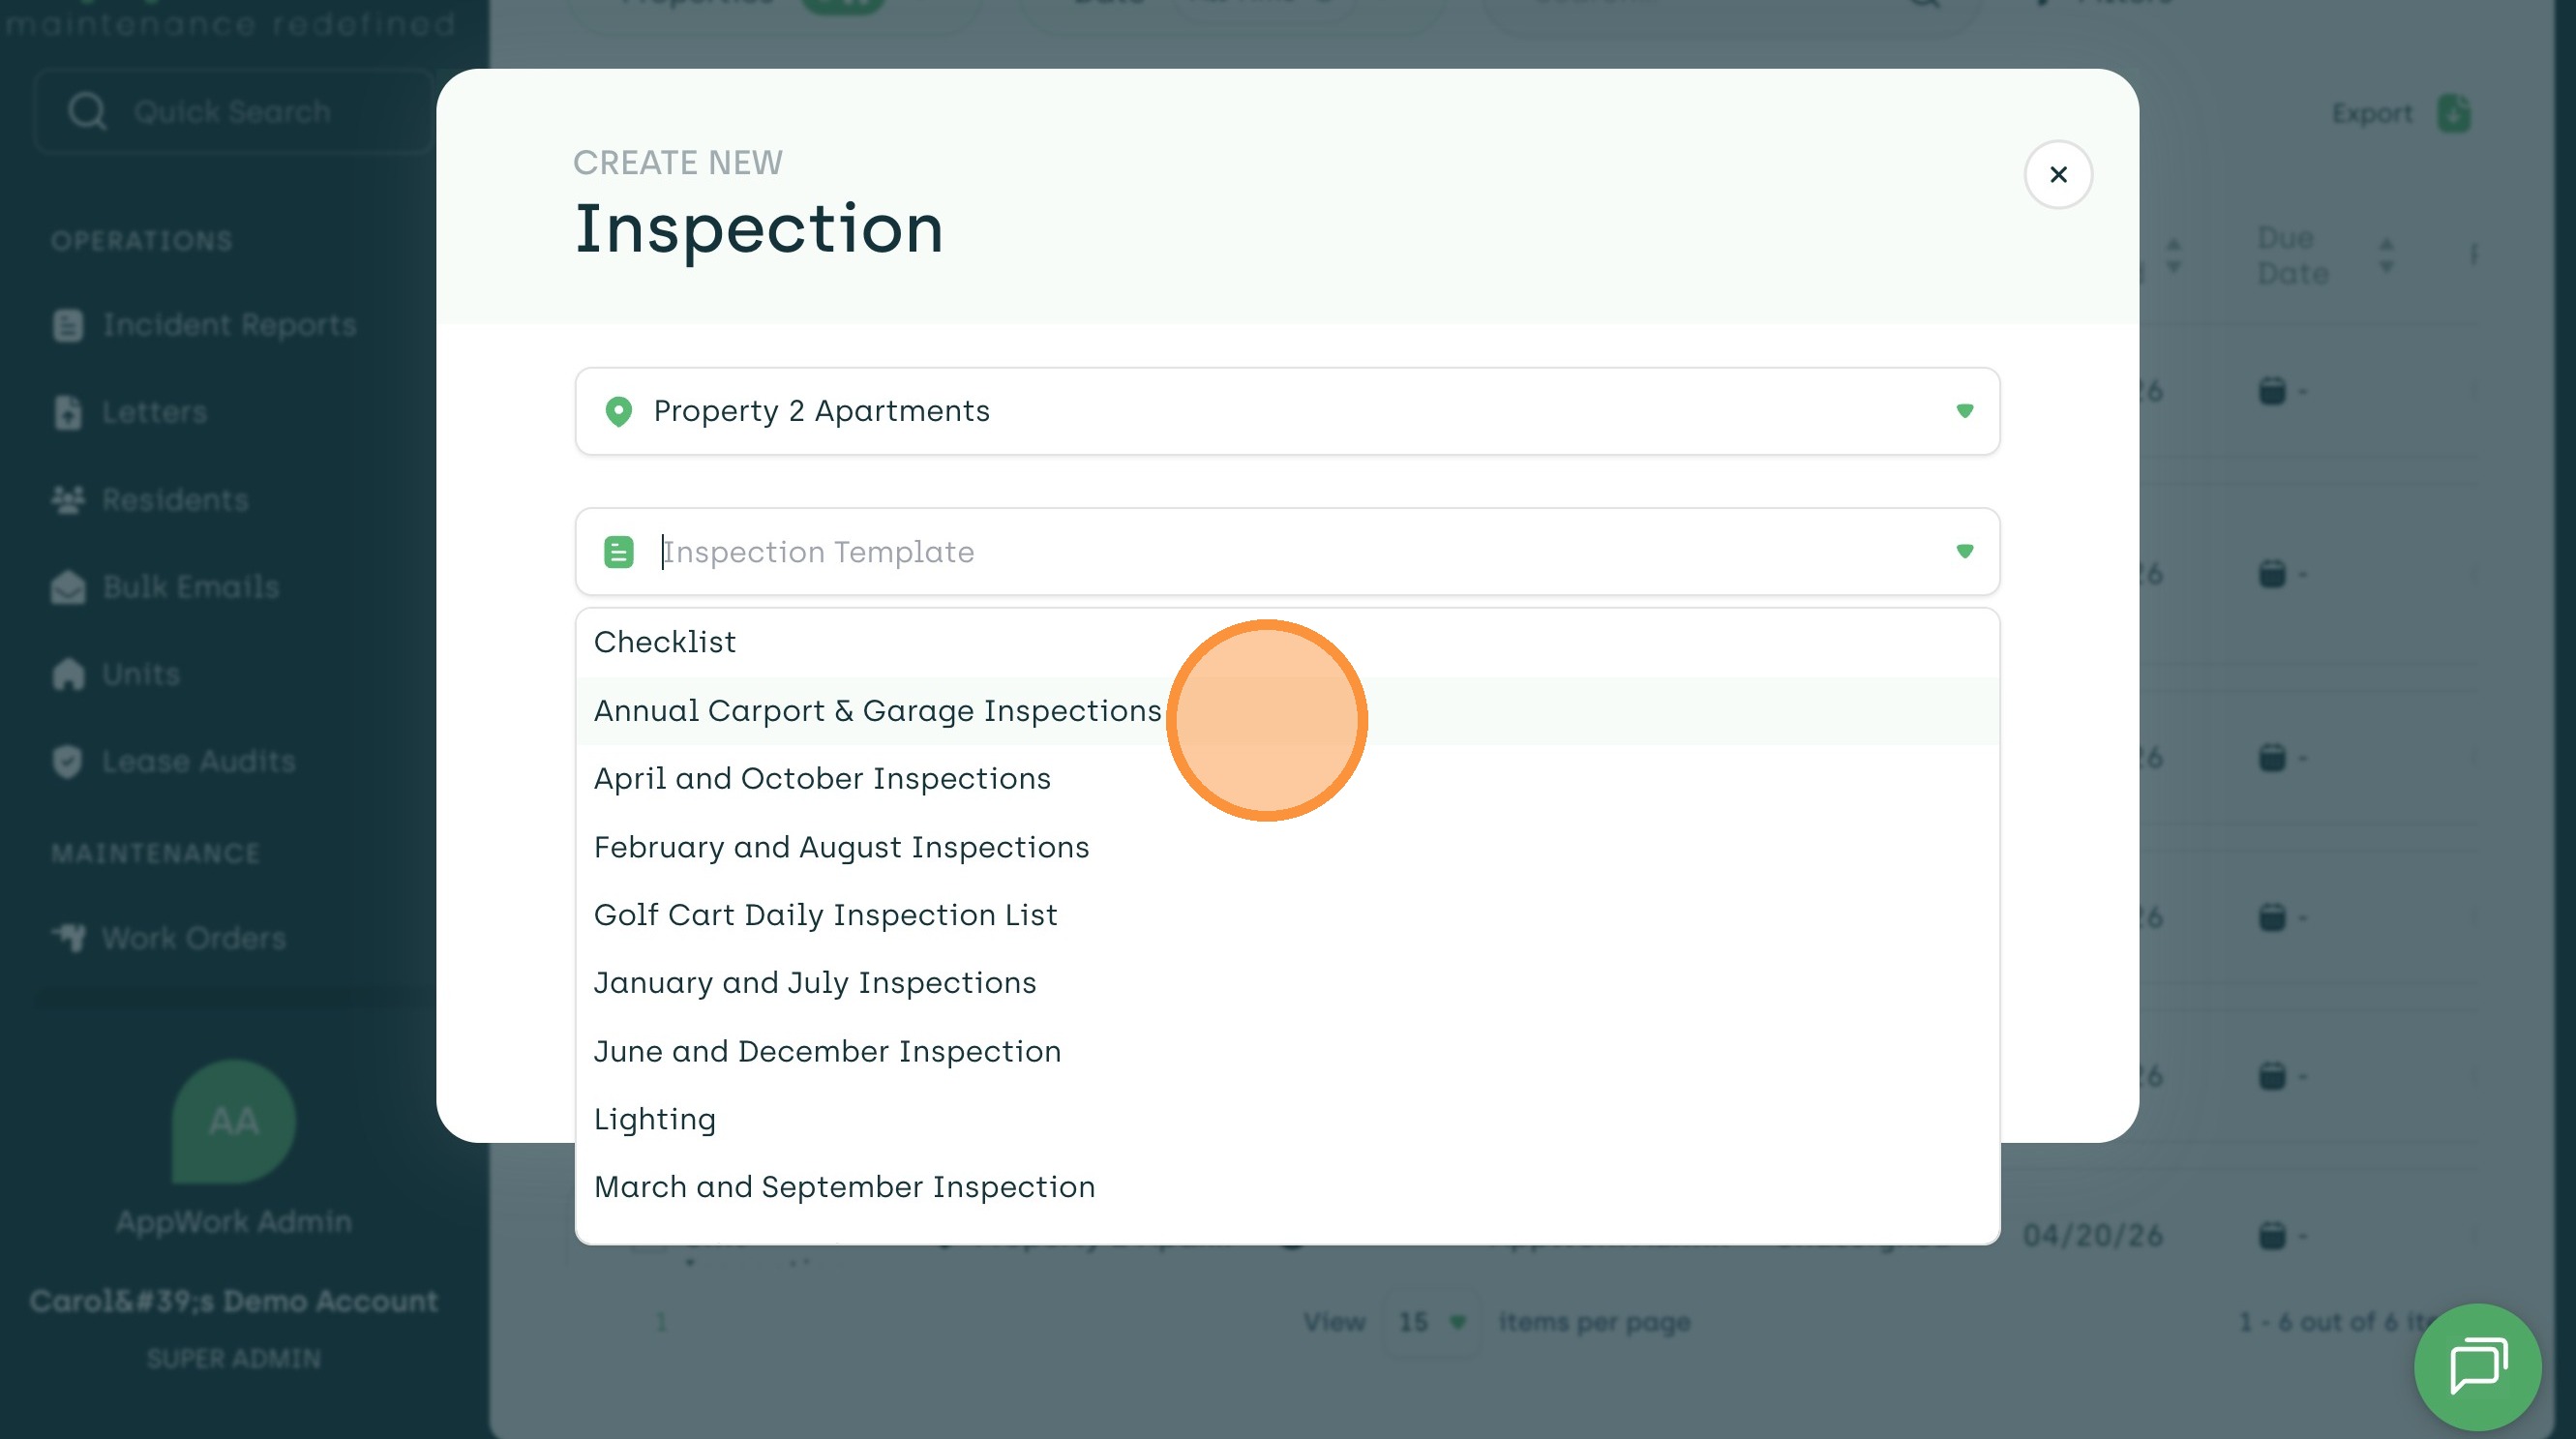
4. Select the template you would like to use.
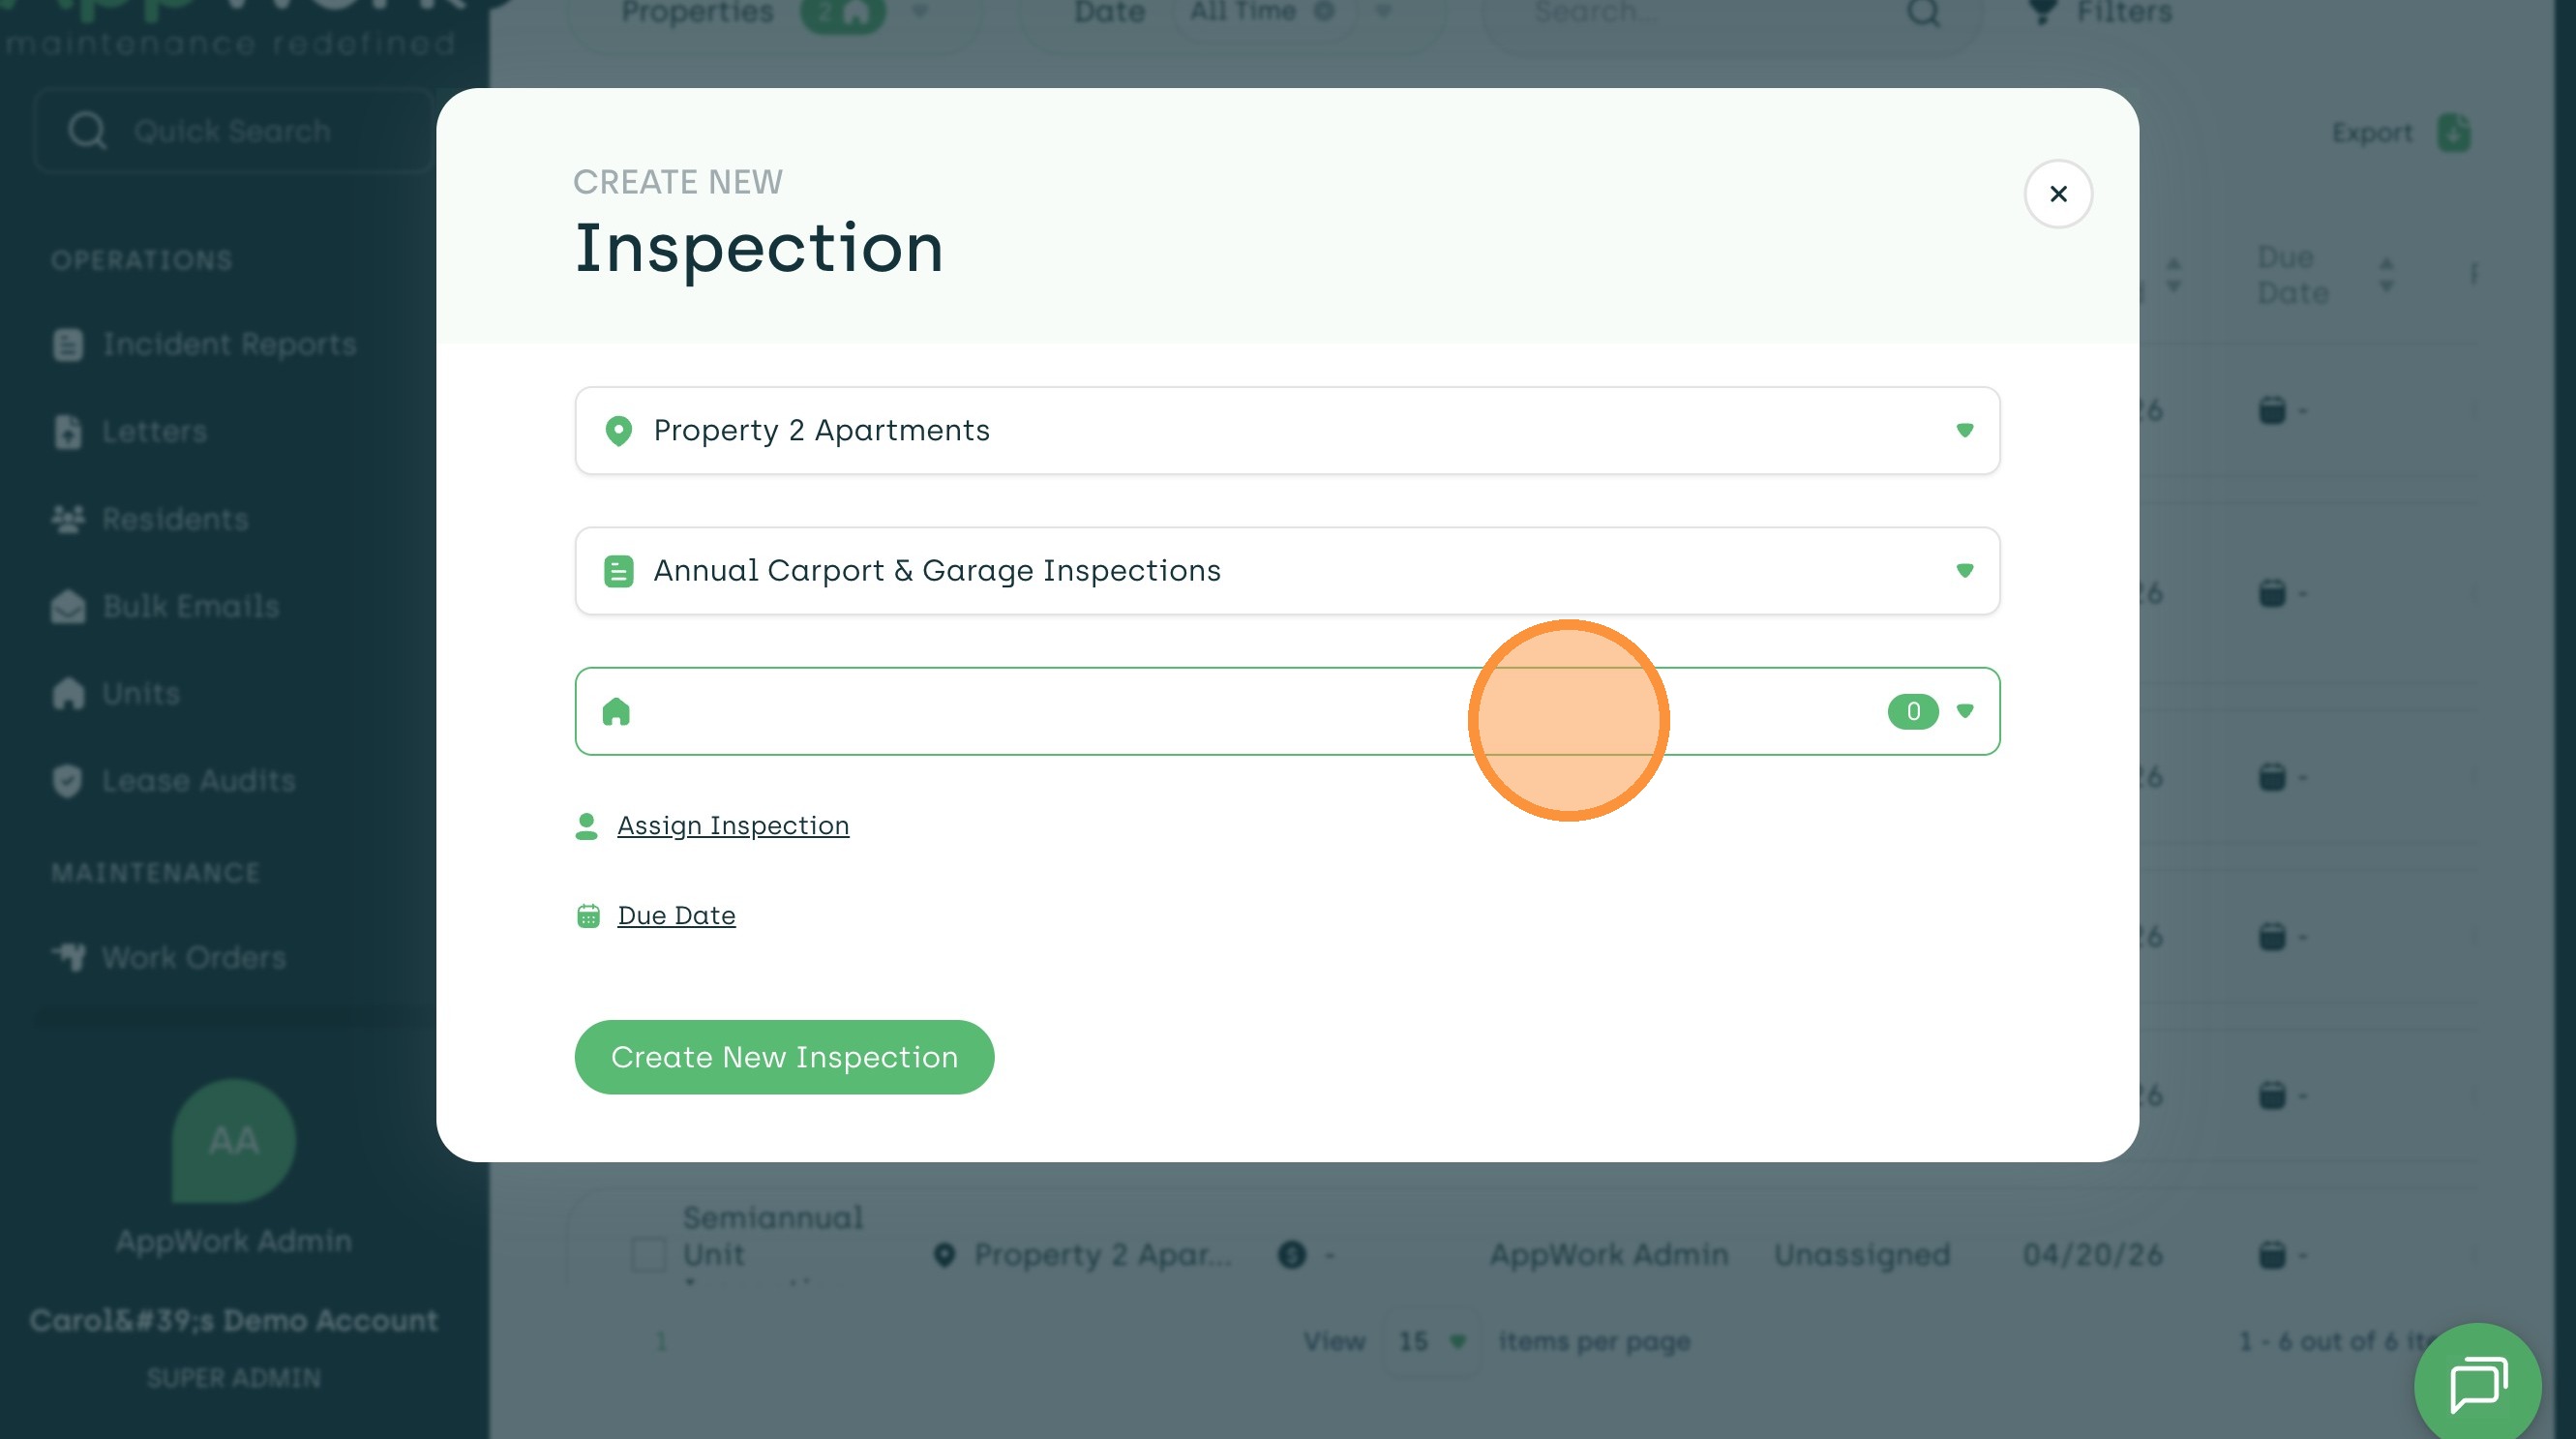
5. Choose a unit to assign this inspection to or leave this field blank to create a property Inspection.
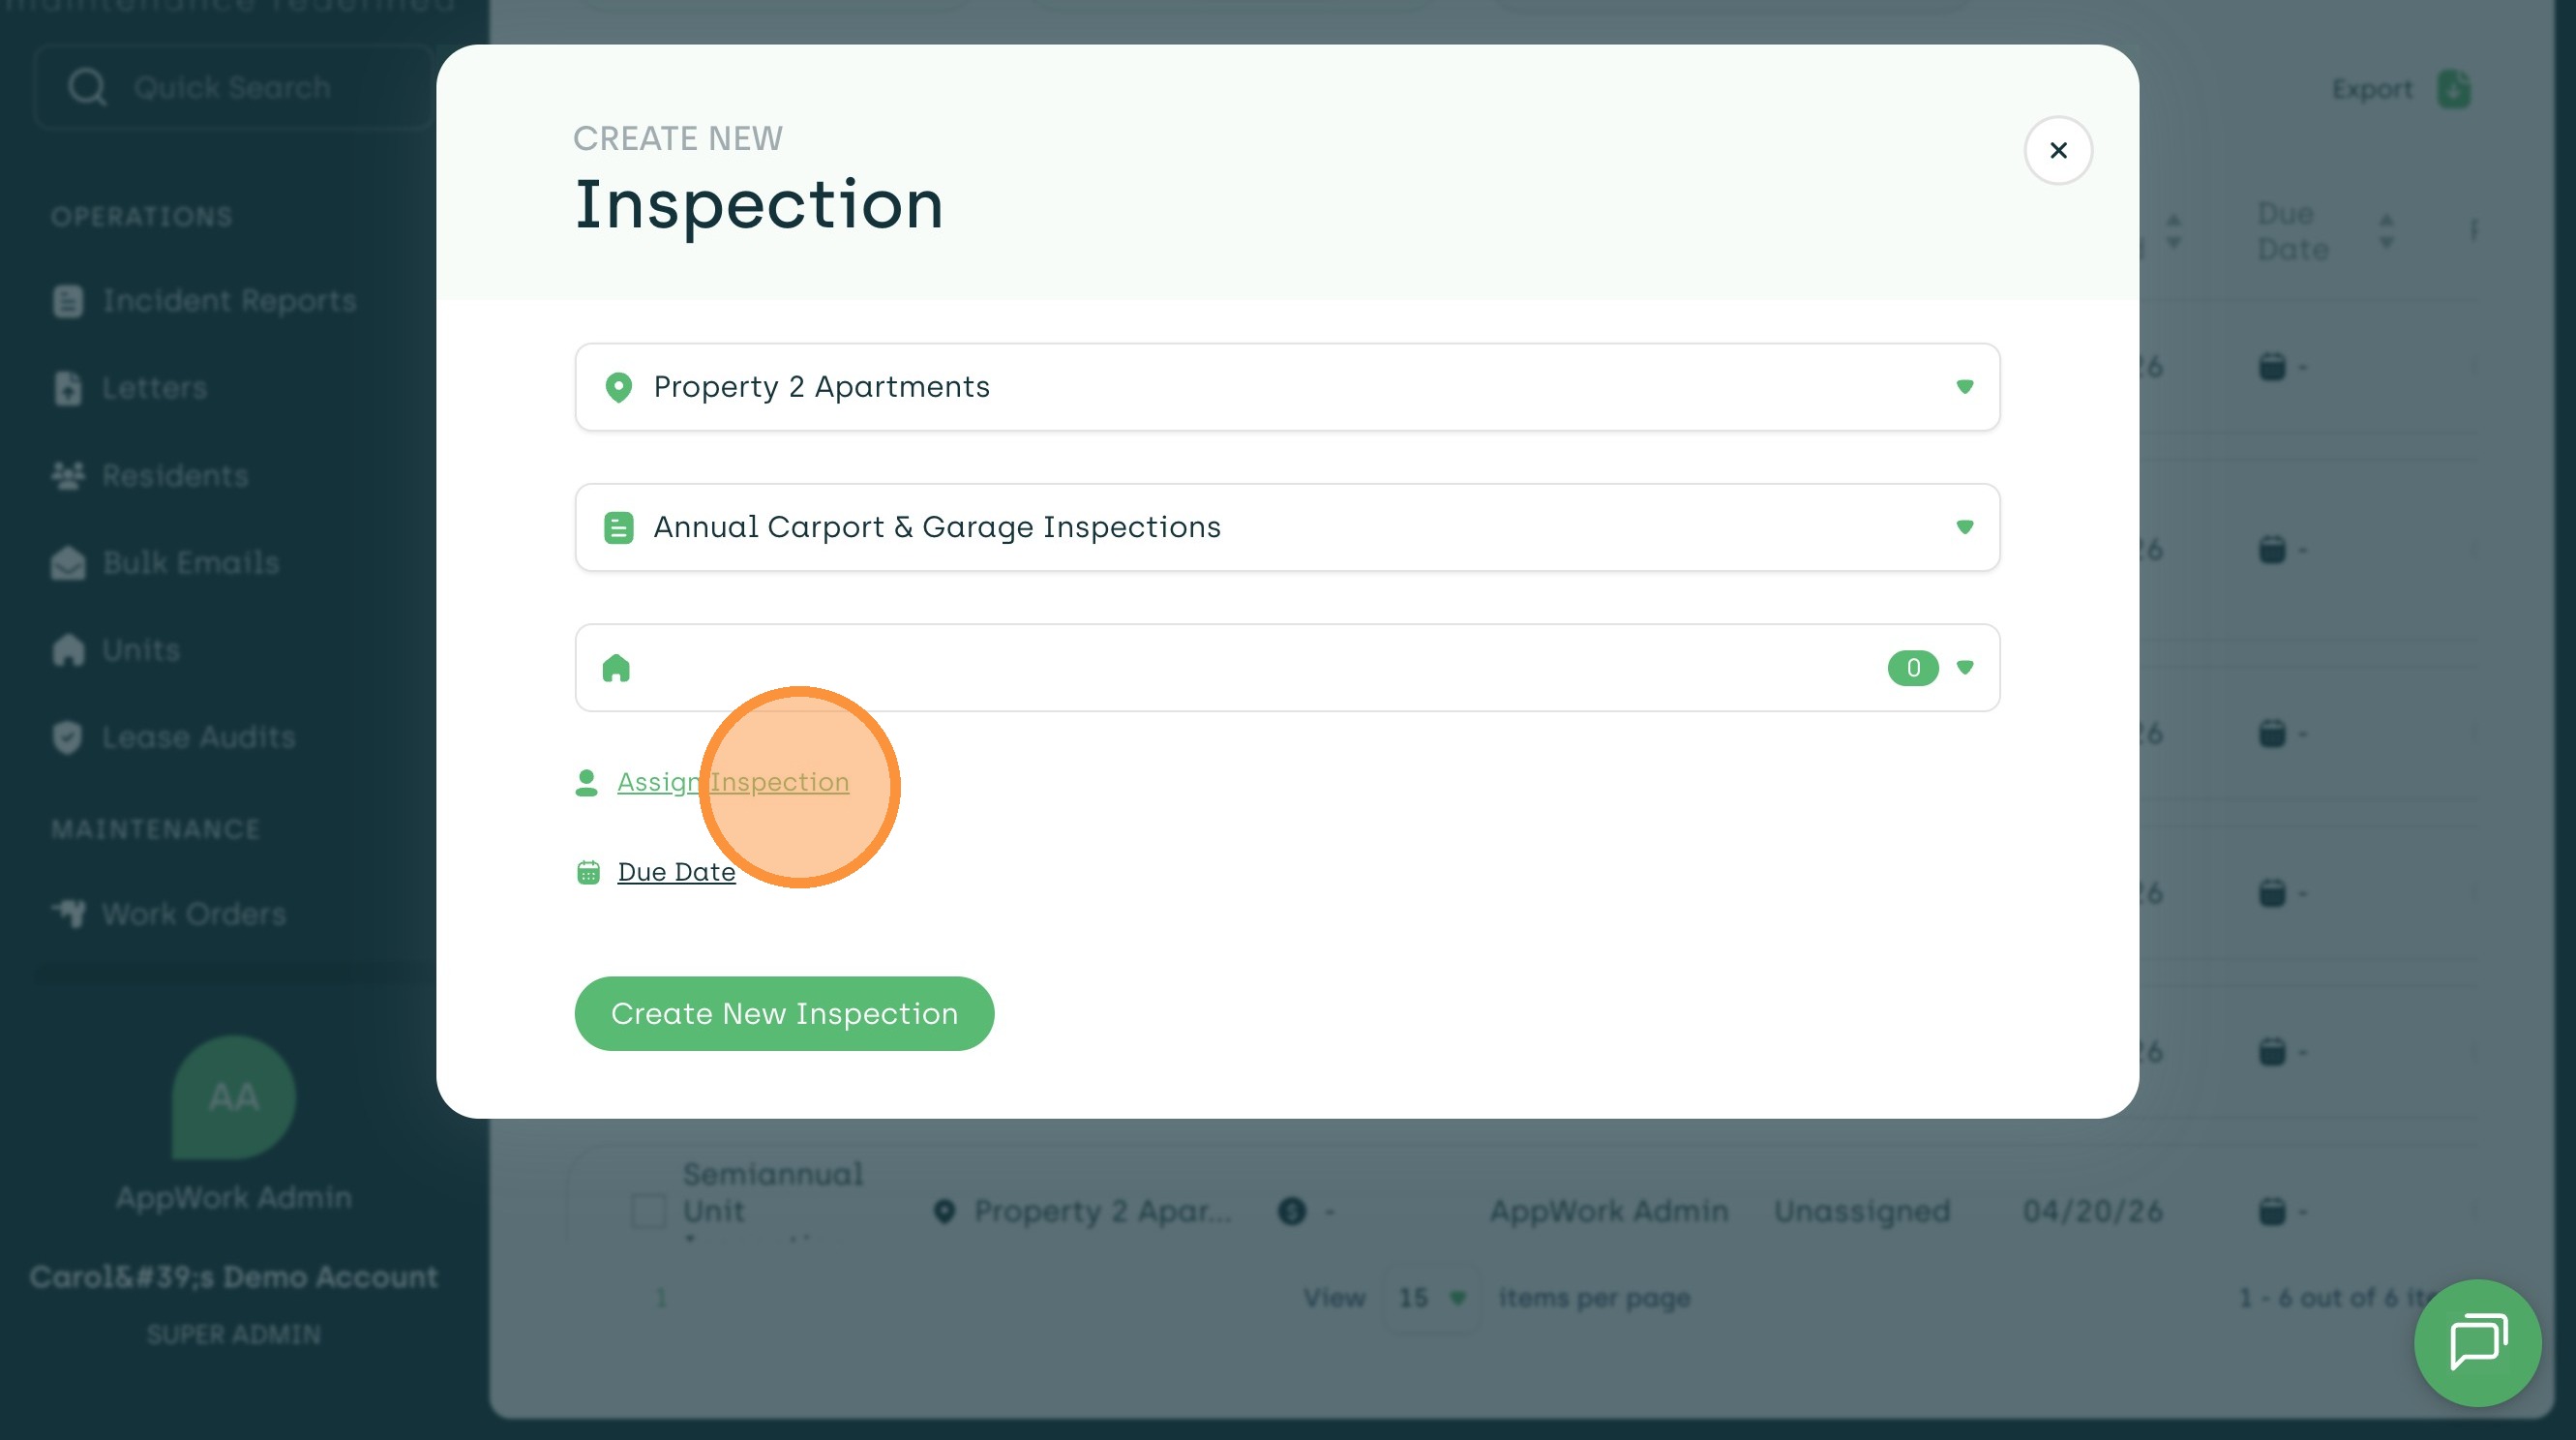
6. Next, click Assign Inspection to assign a technician.
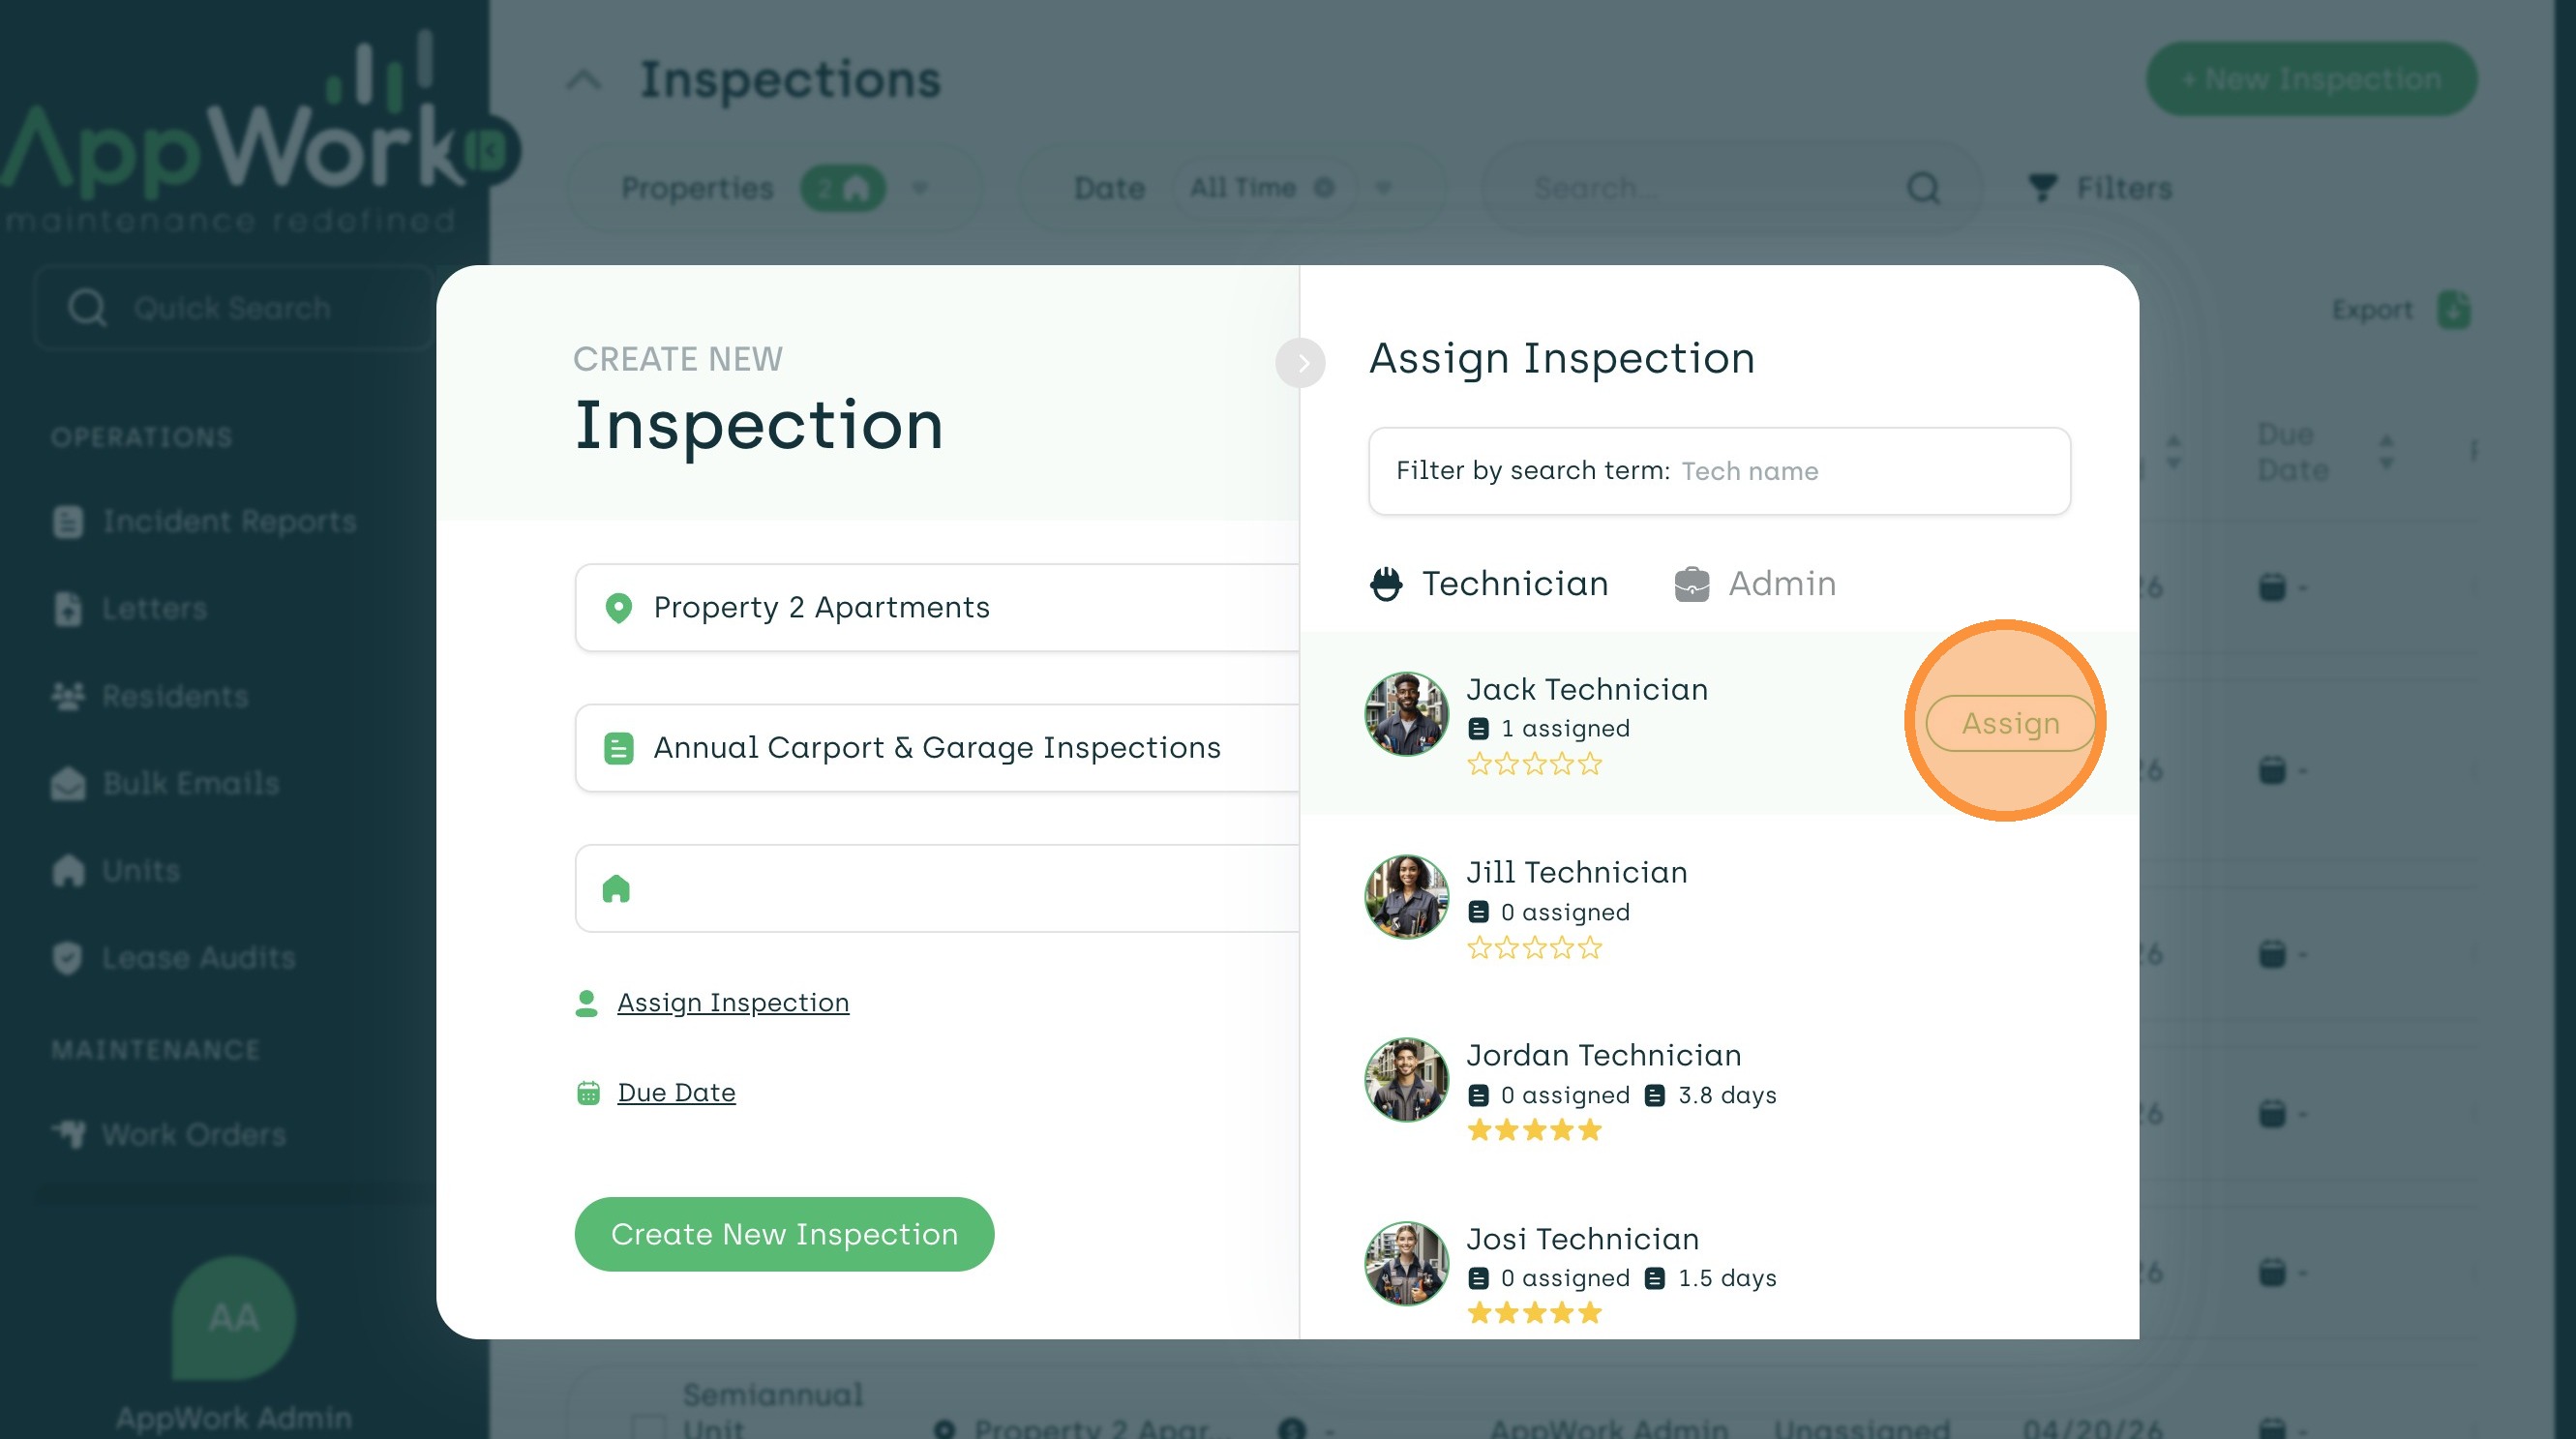
7. Find the technician you would like to assign and press the Assign button next to their name.
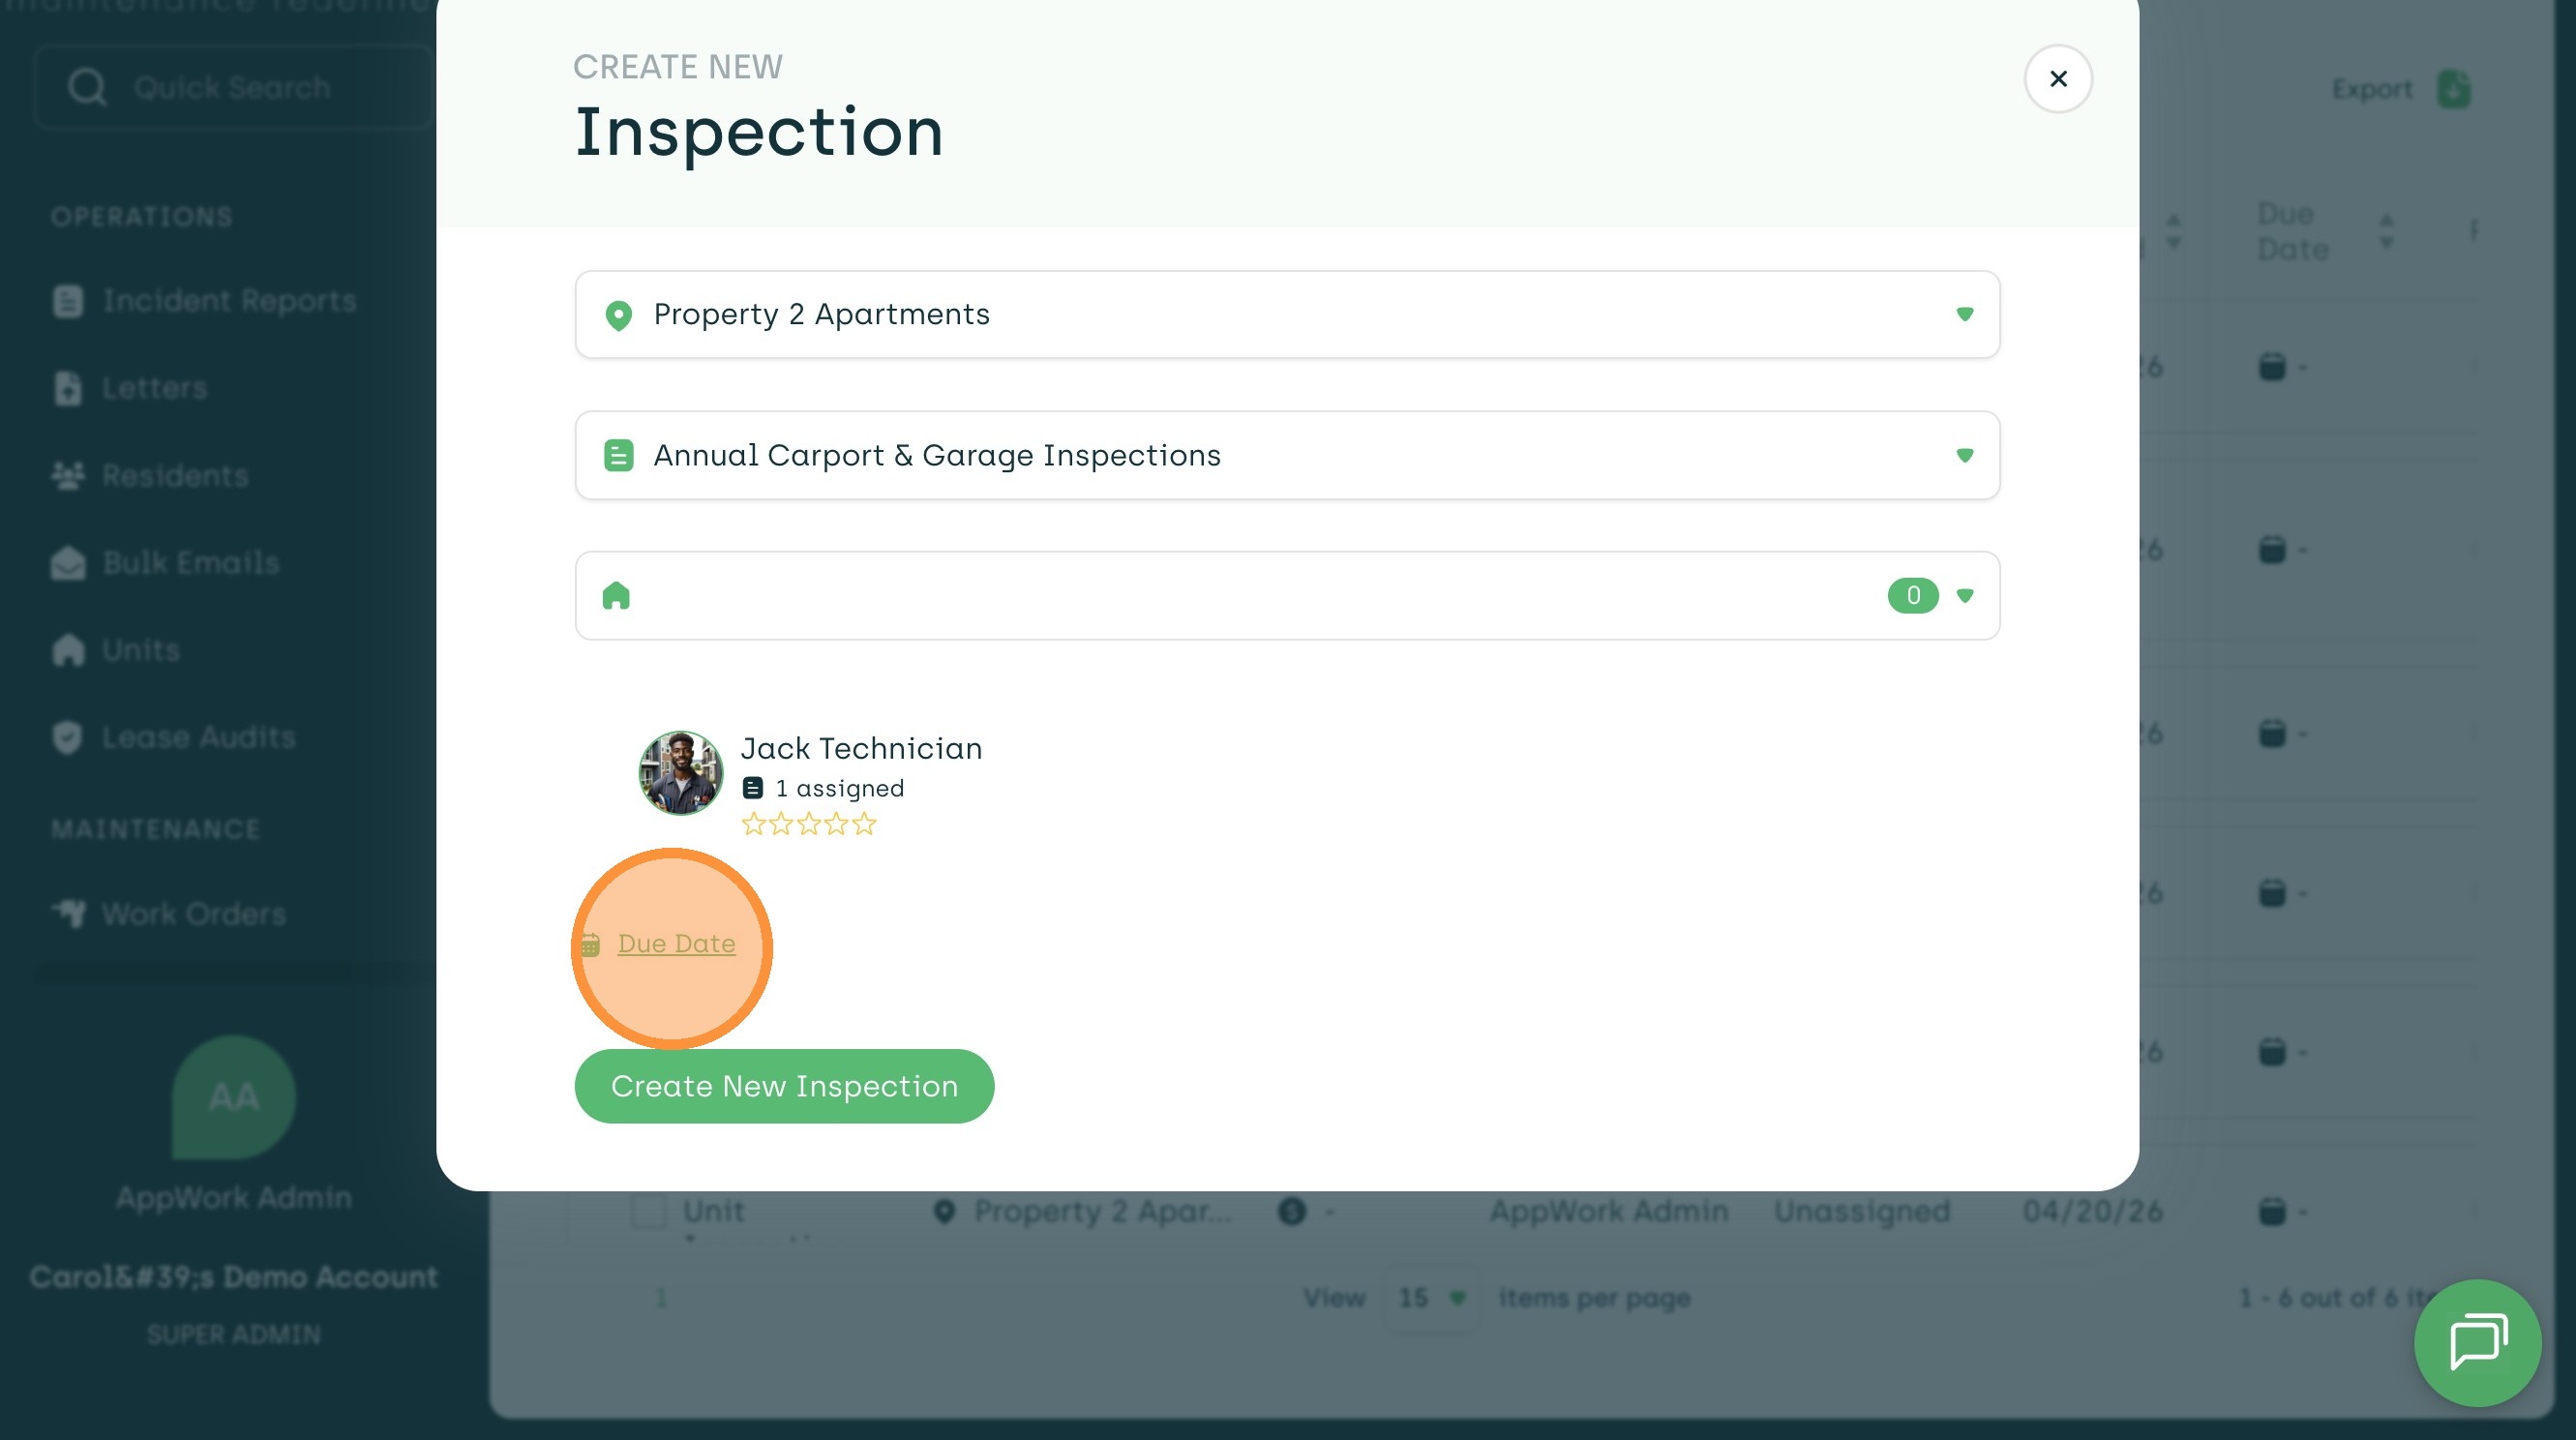
8. Now, press Due Date to select a date.
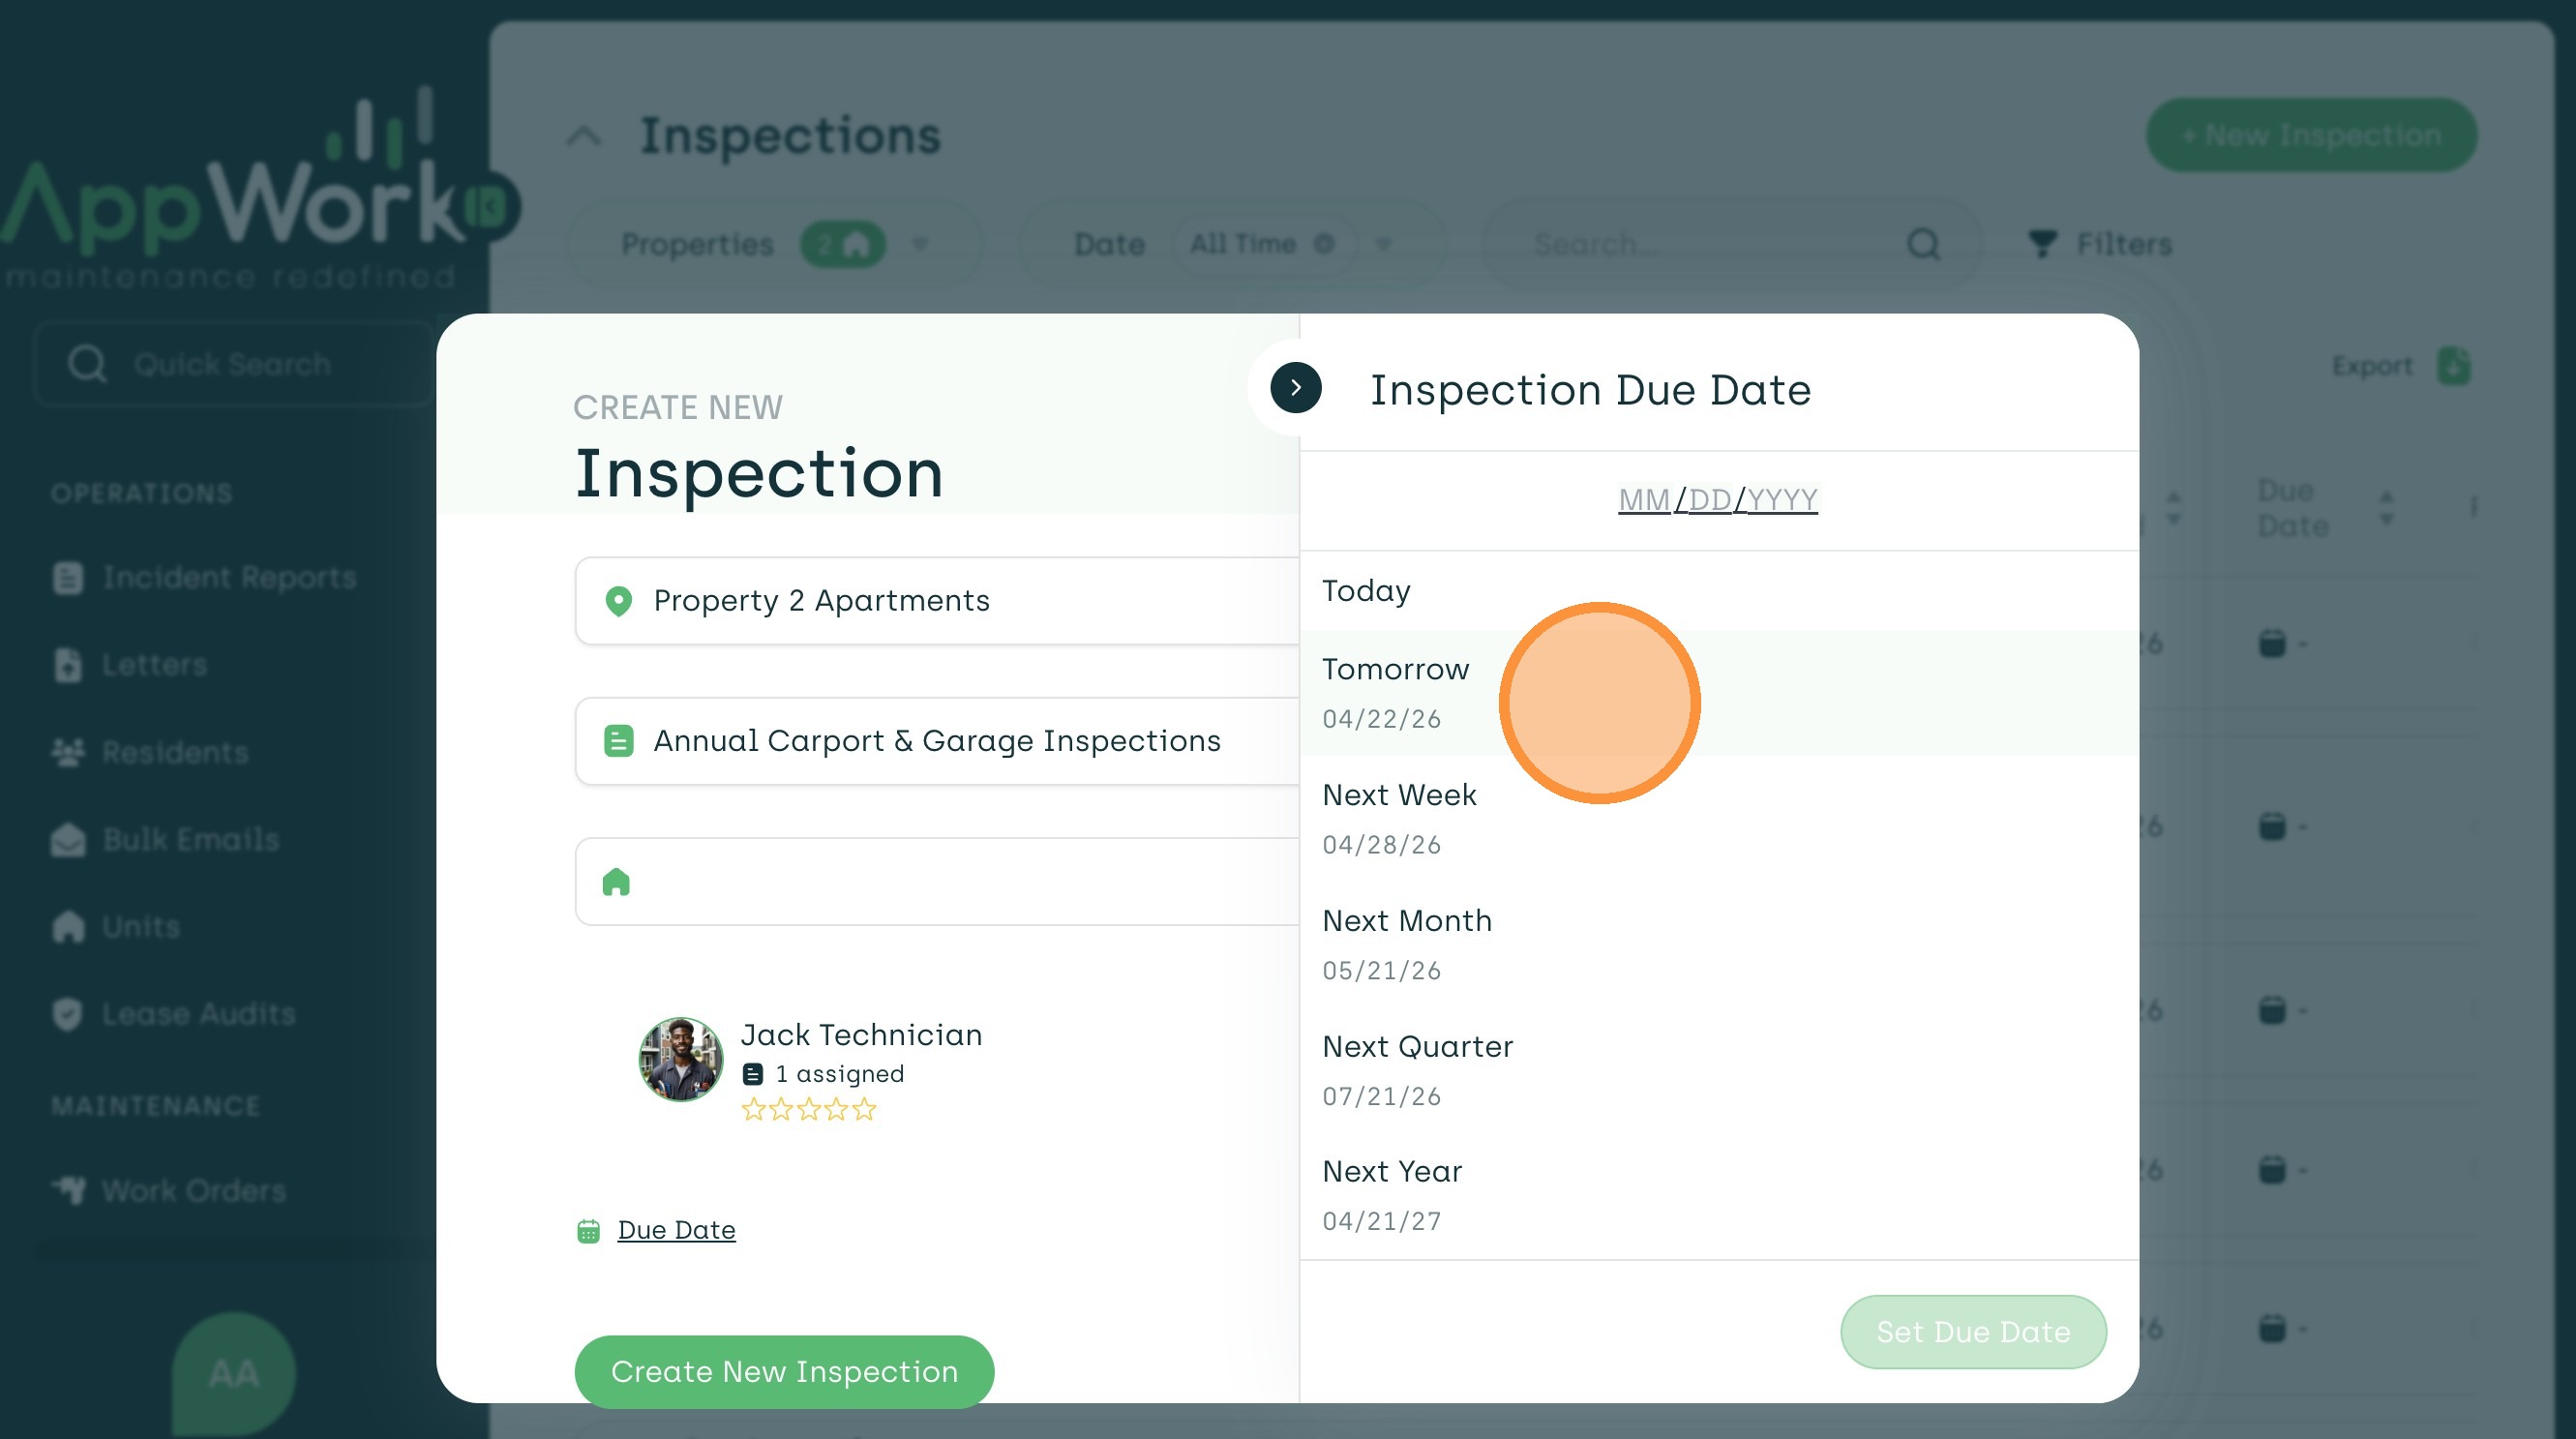
9. Choose a prefilled option or type in the date you would like this inspection to be completed by.
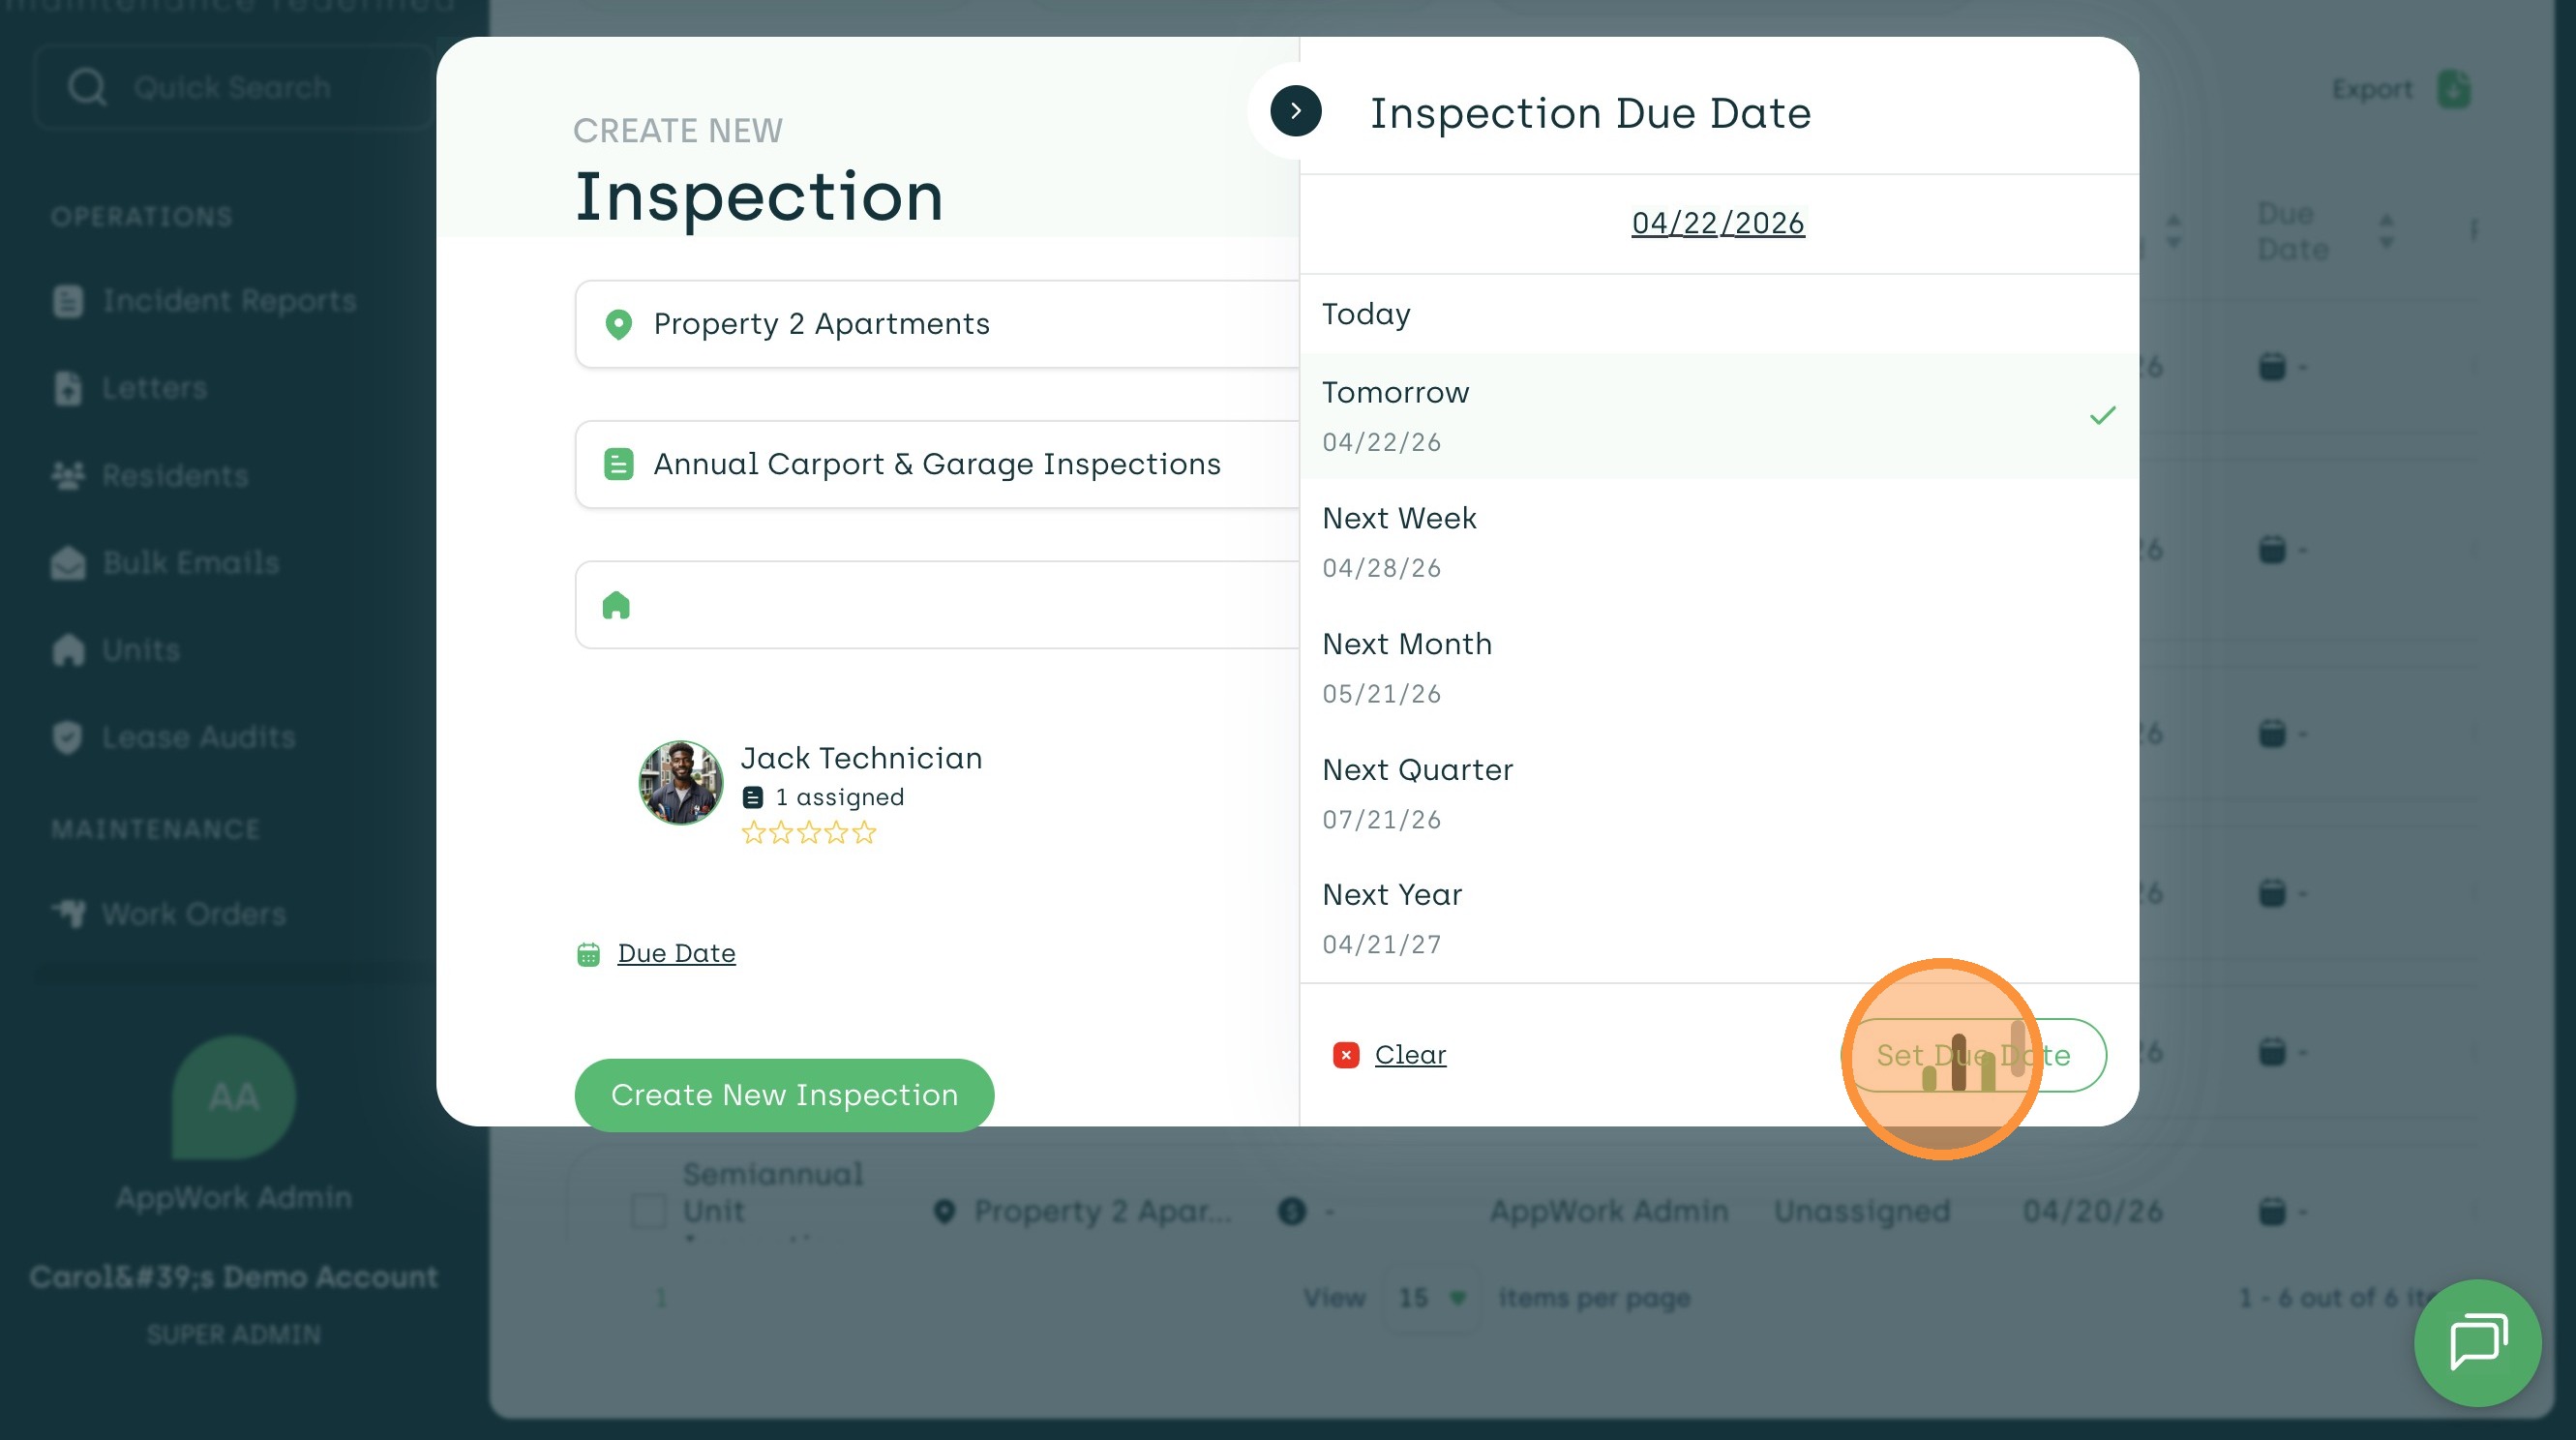
10. Press Set Due Date to save the scheduled date.
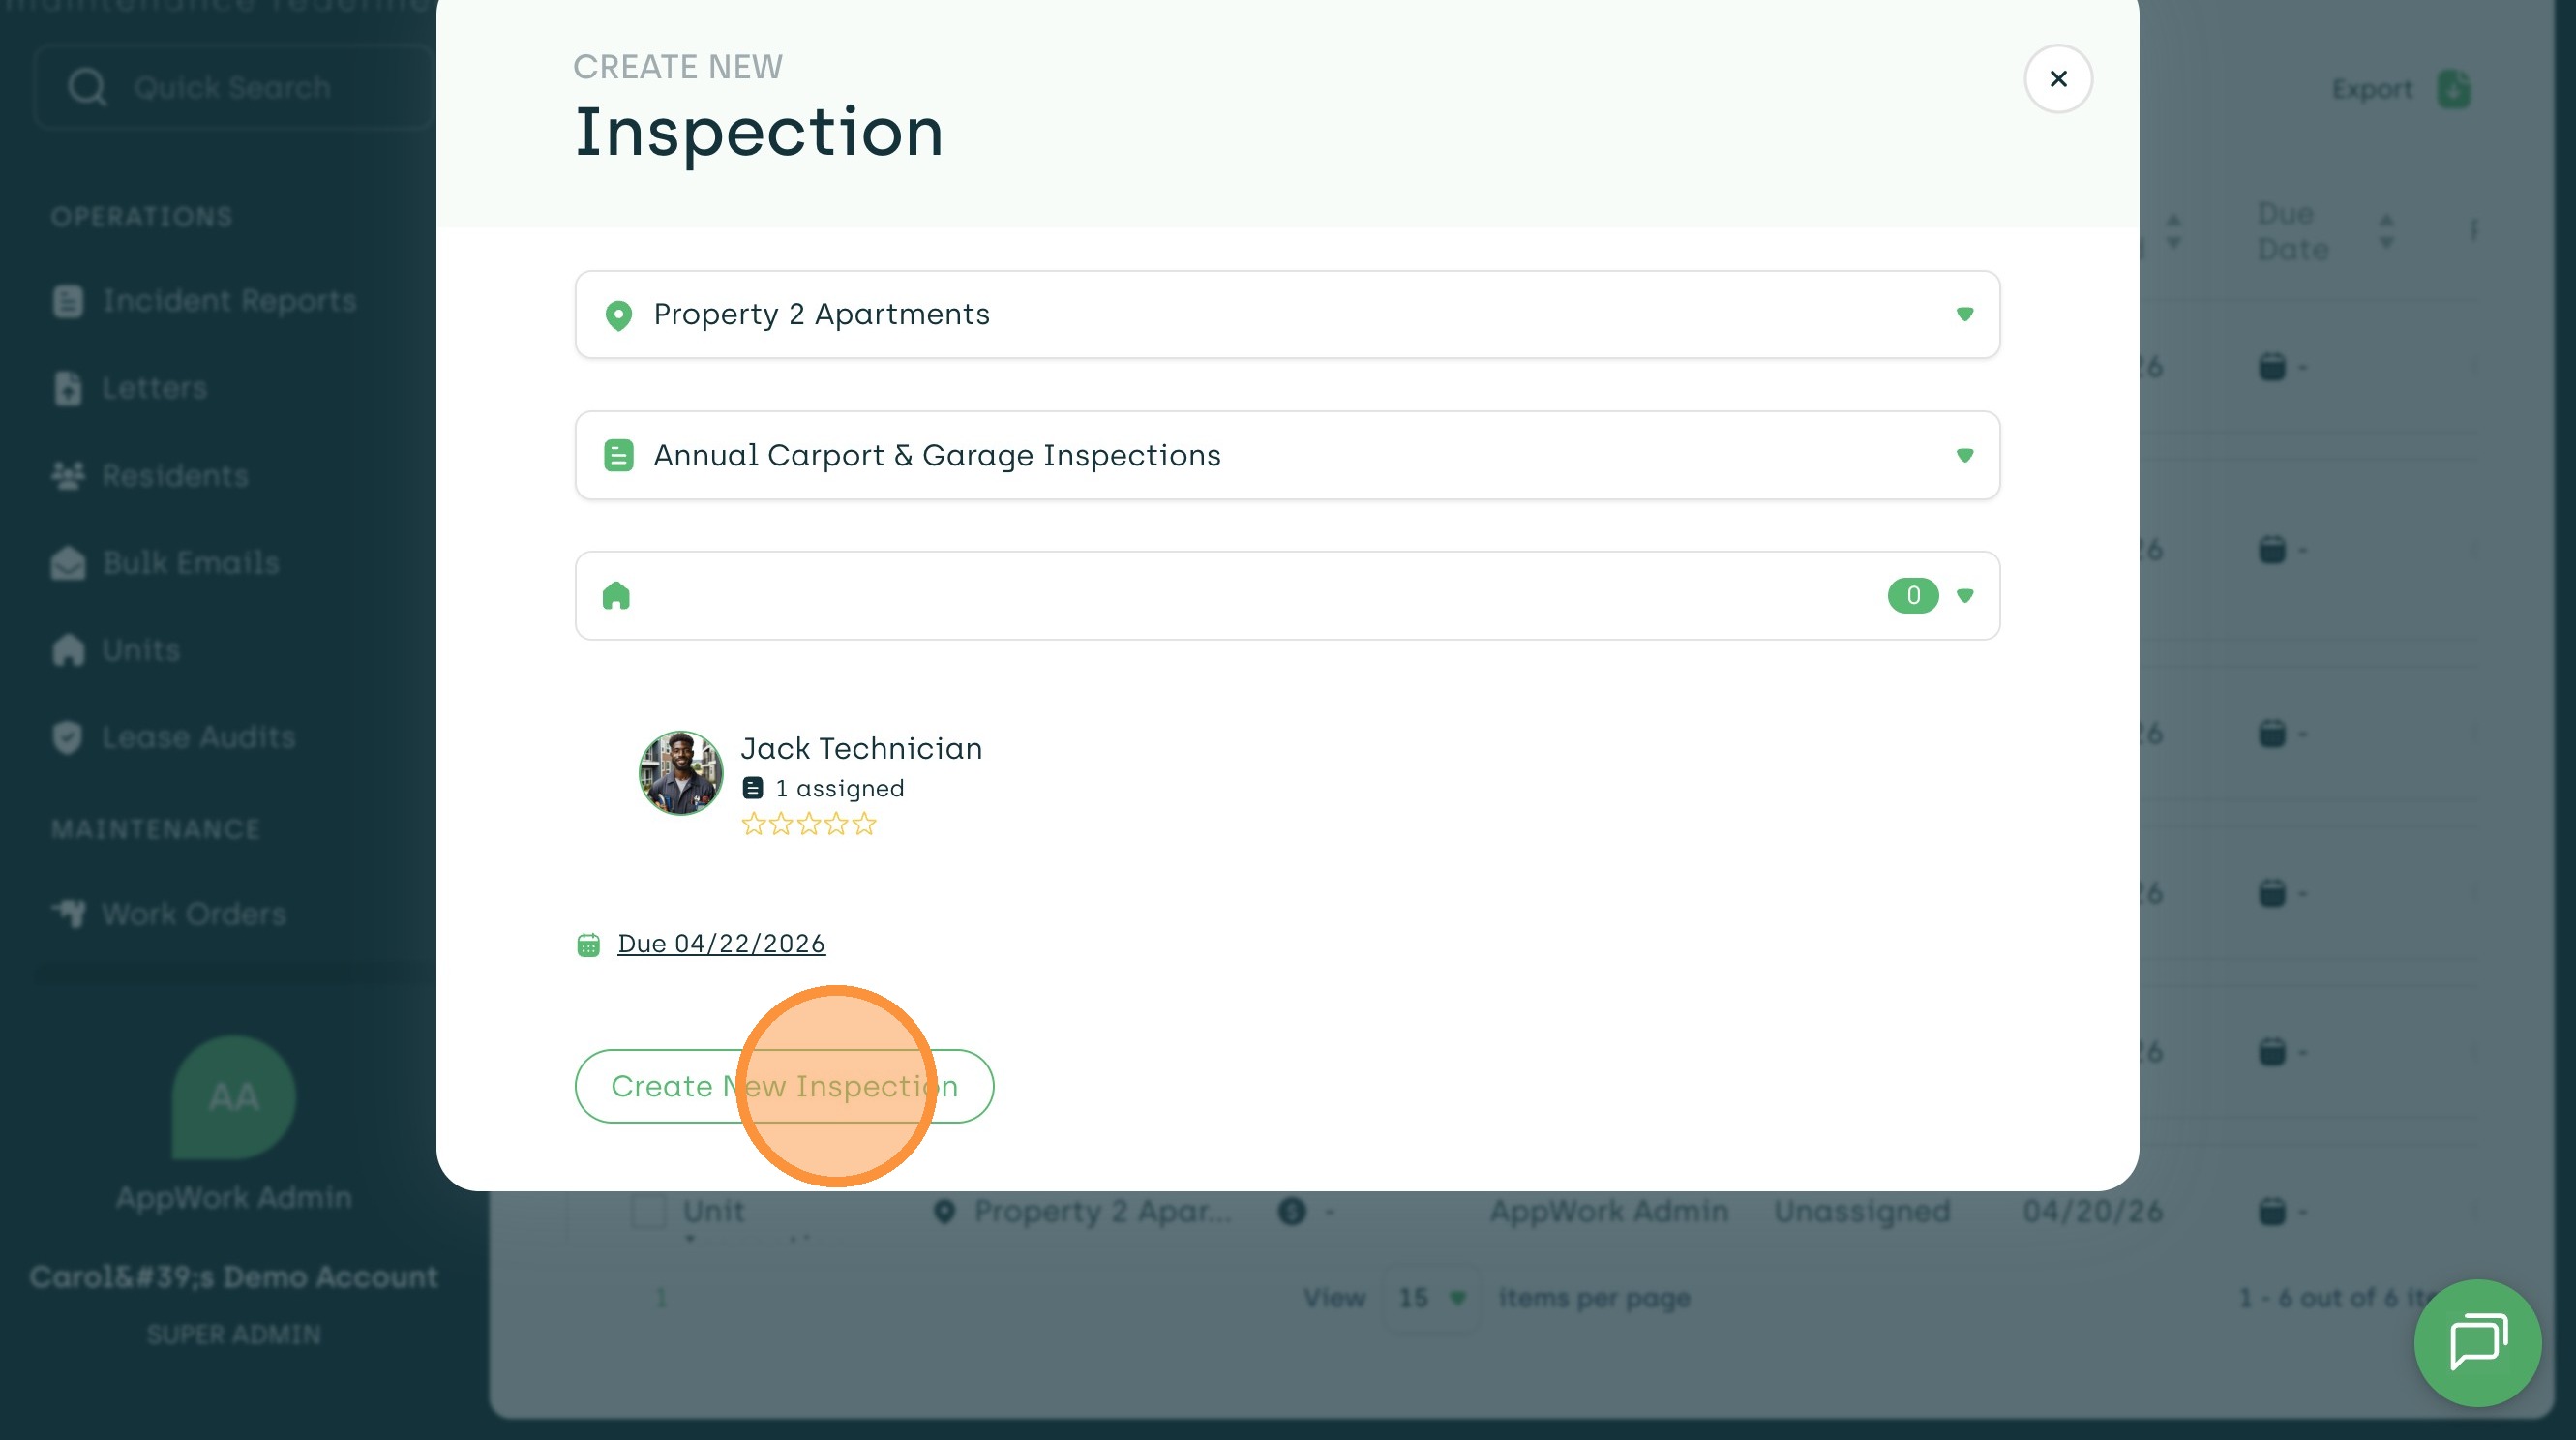
11. To save the inspection, select Create New Inspection.
12. A pop-up will appear telling you the inspection has been created. You can now exit out and go back to the inspections dashboard!