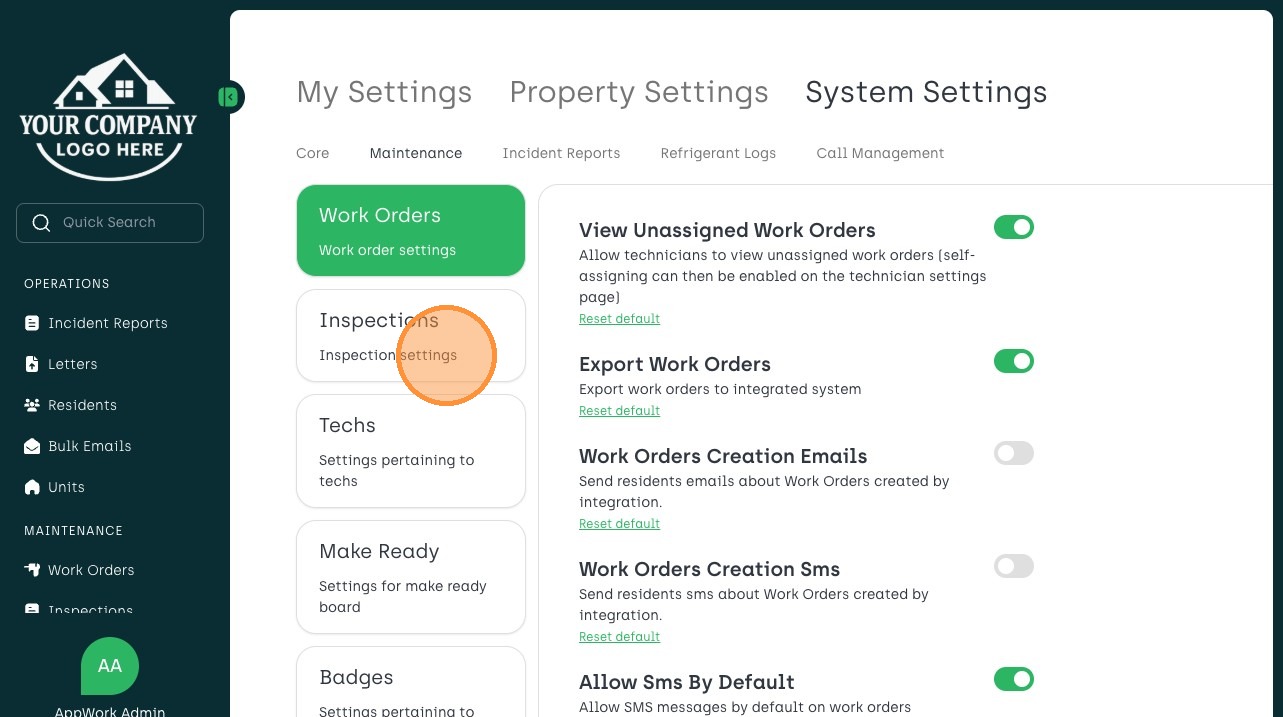
1. Click Settings
2. Choose System Settings
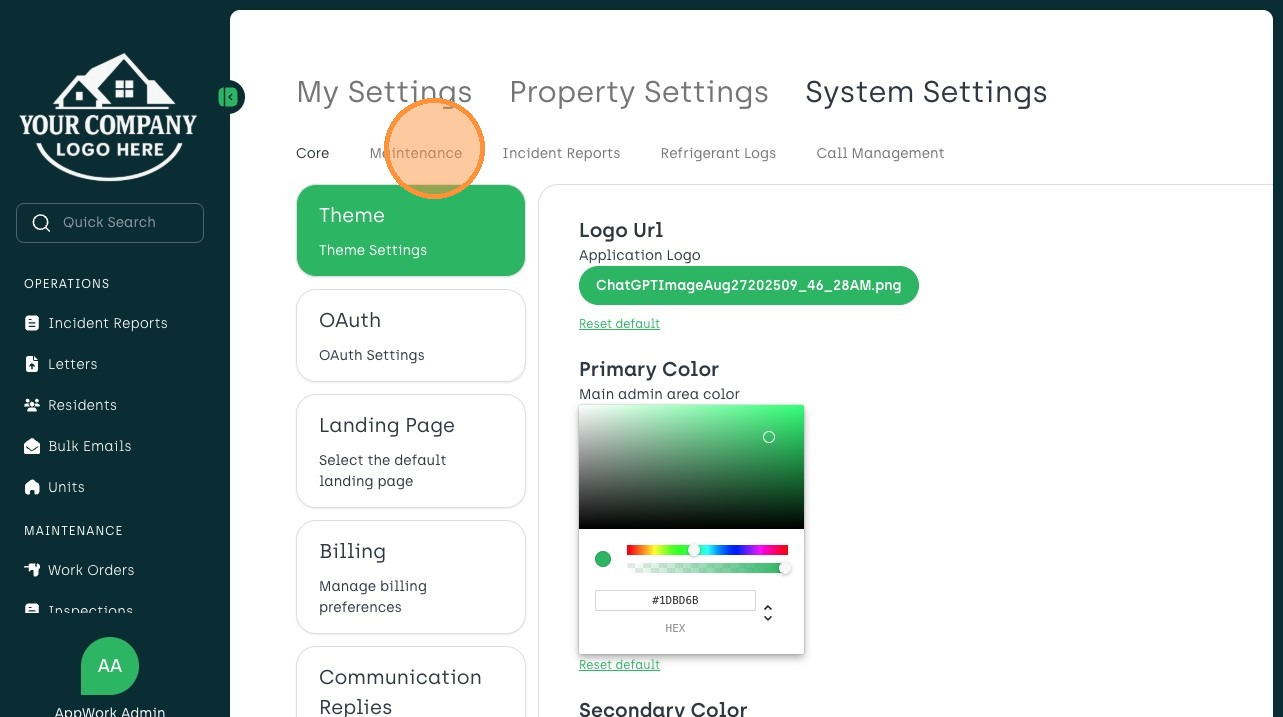
3. Select Maintenance Tab
4. Click Inspection settings
5. Select + New
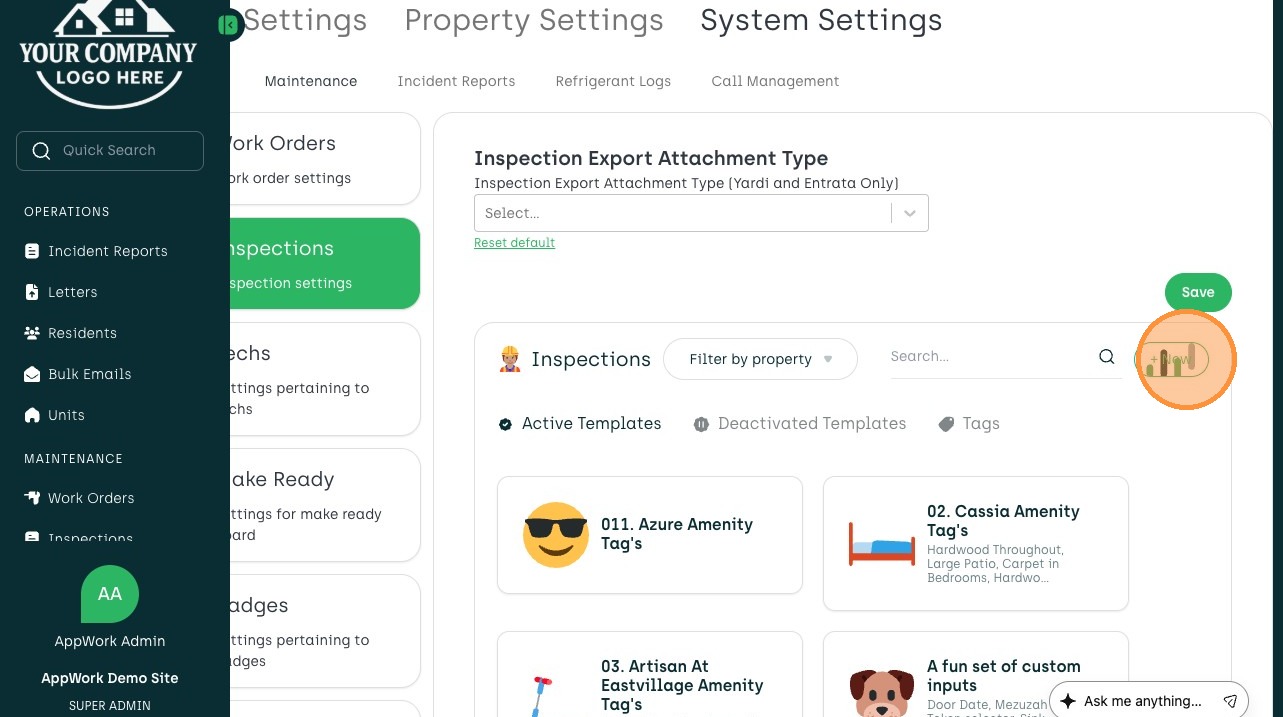
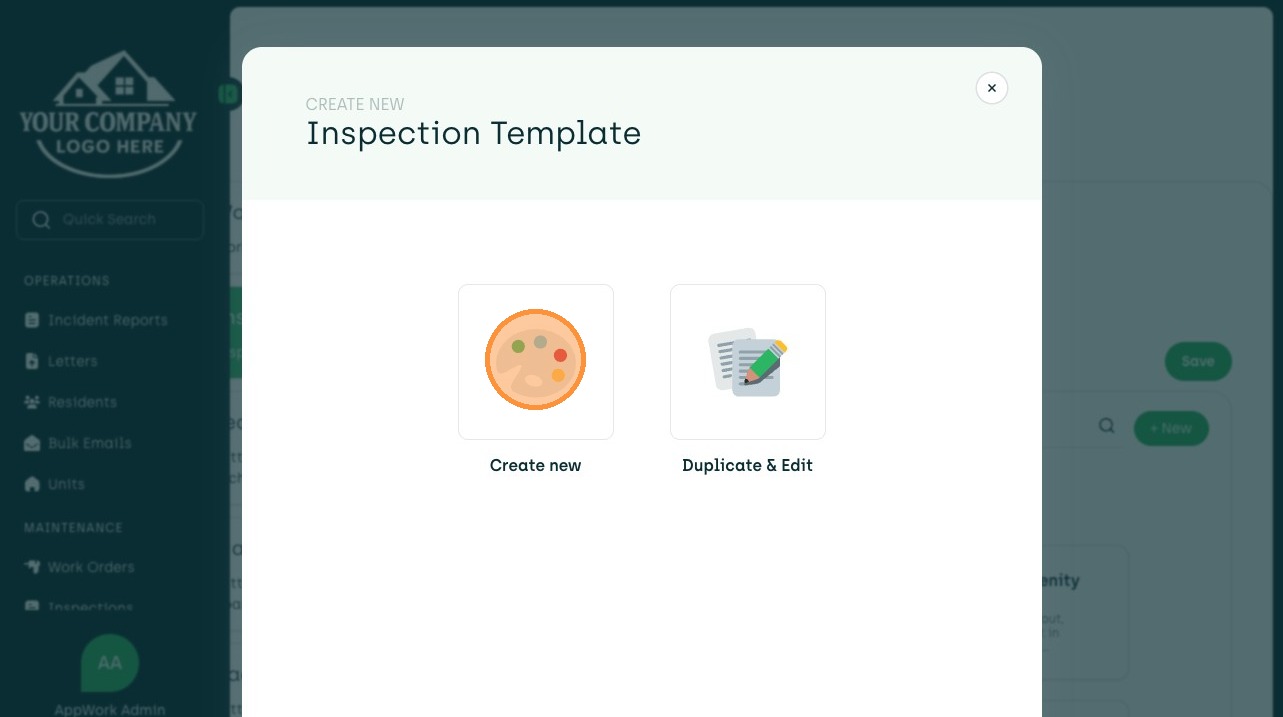
6. Choose Create New
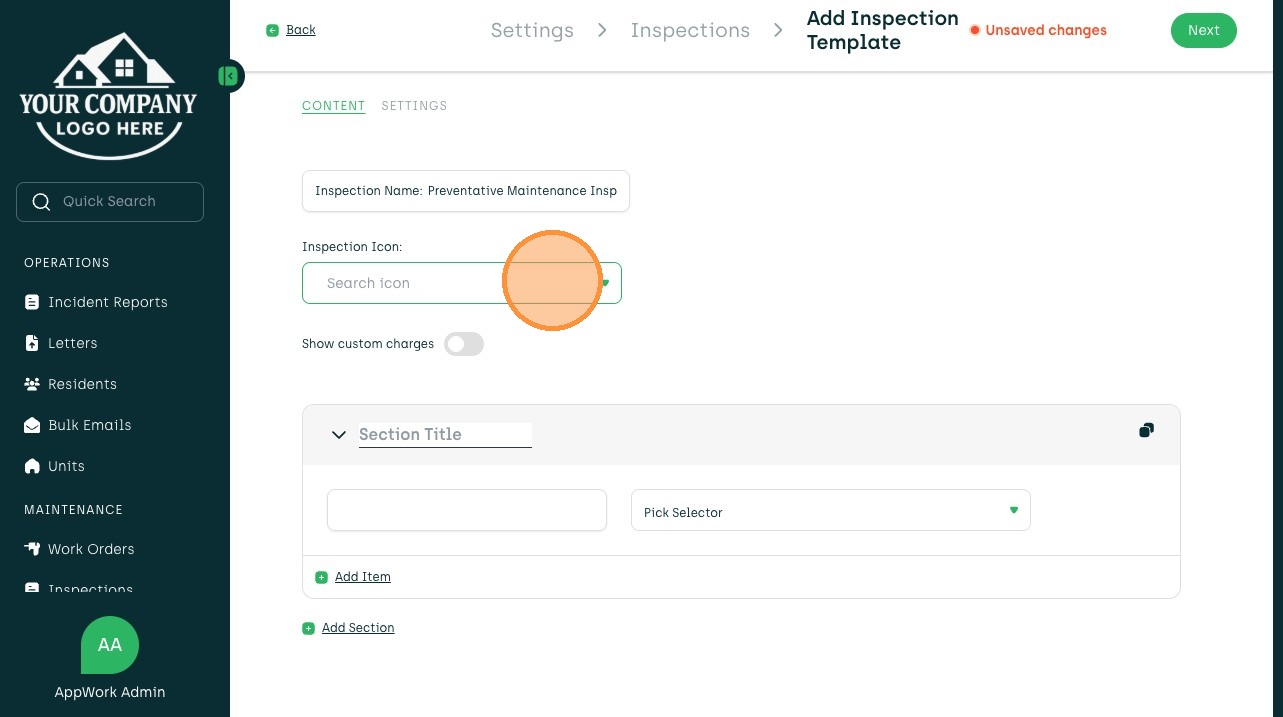
7. Click Inspection Name to Create Title
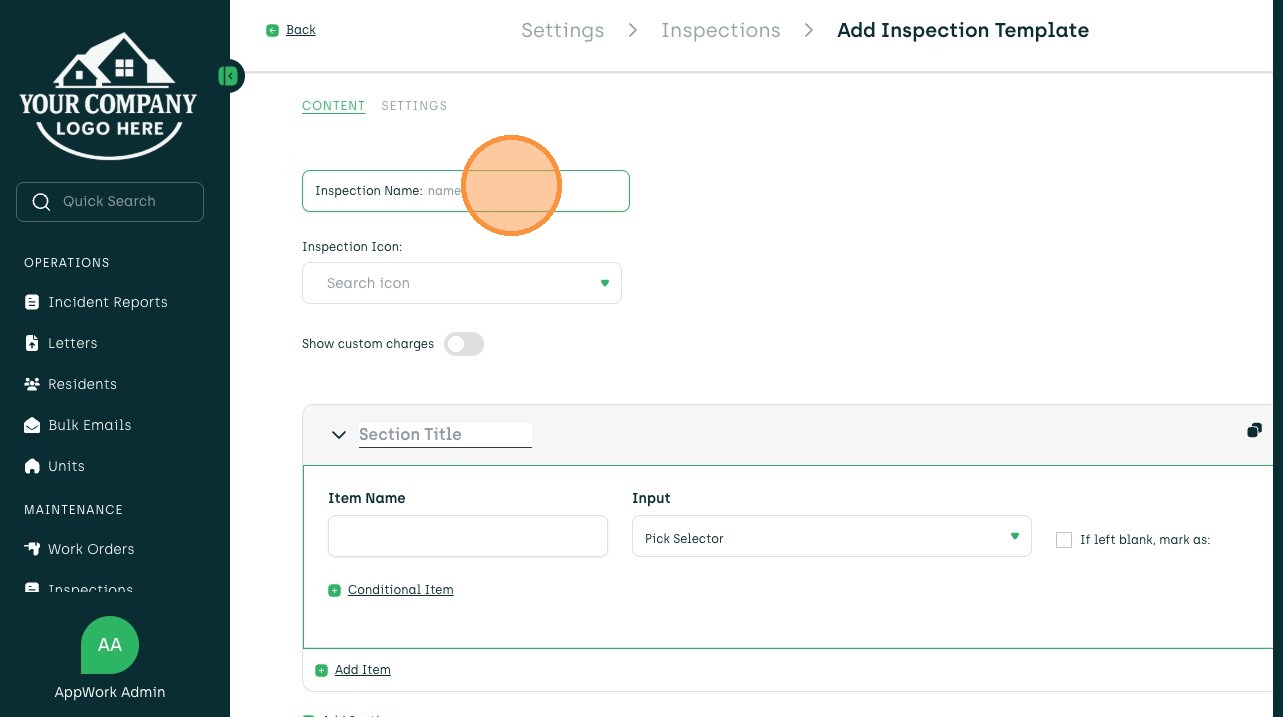
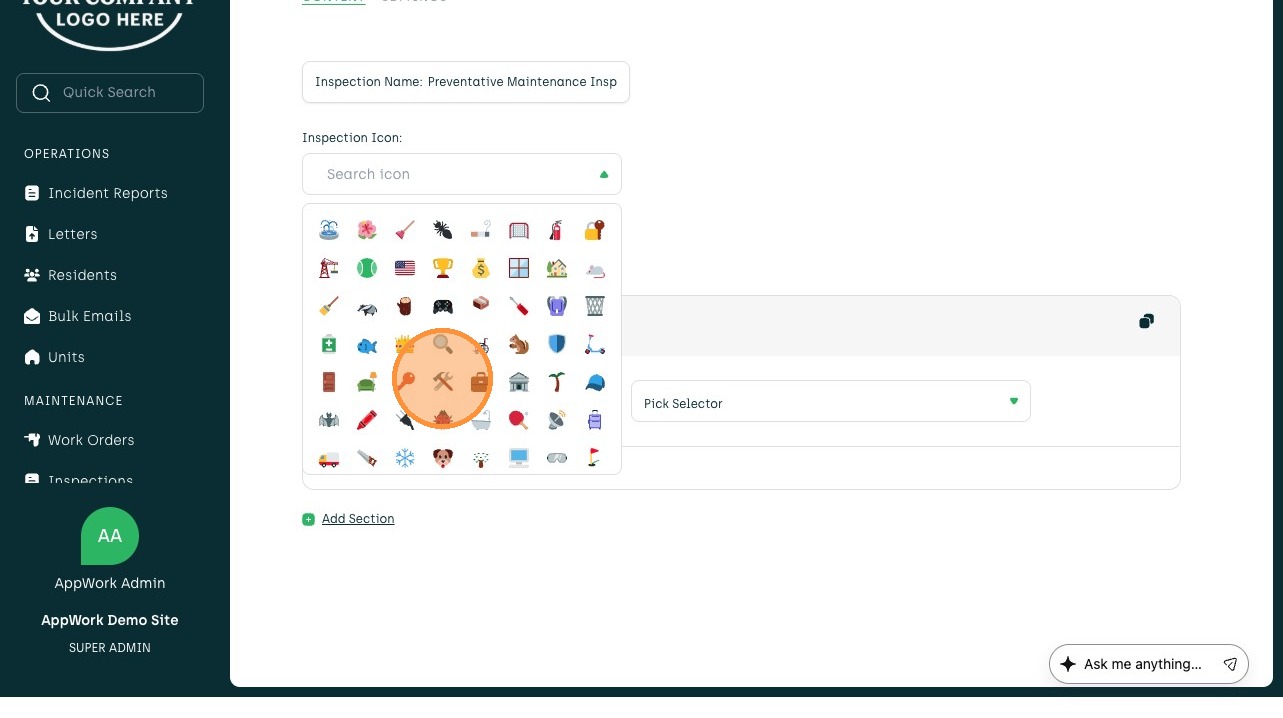
8. Use Drop Down to Select Icon
9. Select The Icon You Want
10. Click The Section Title Field
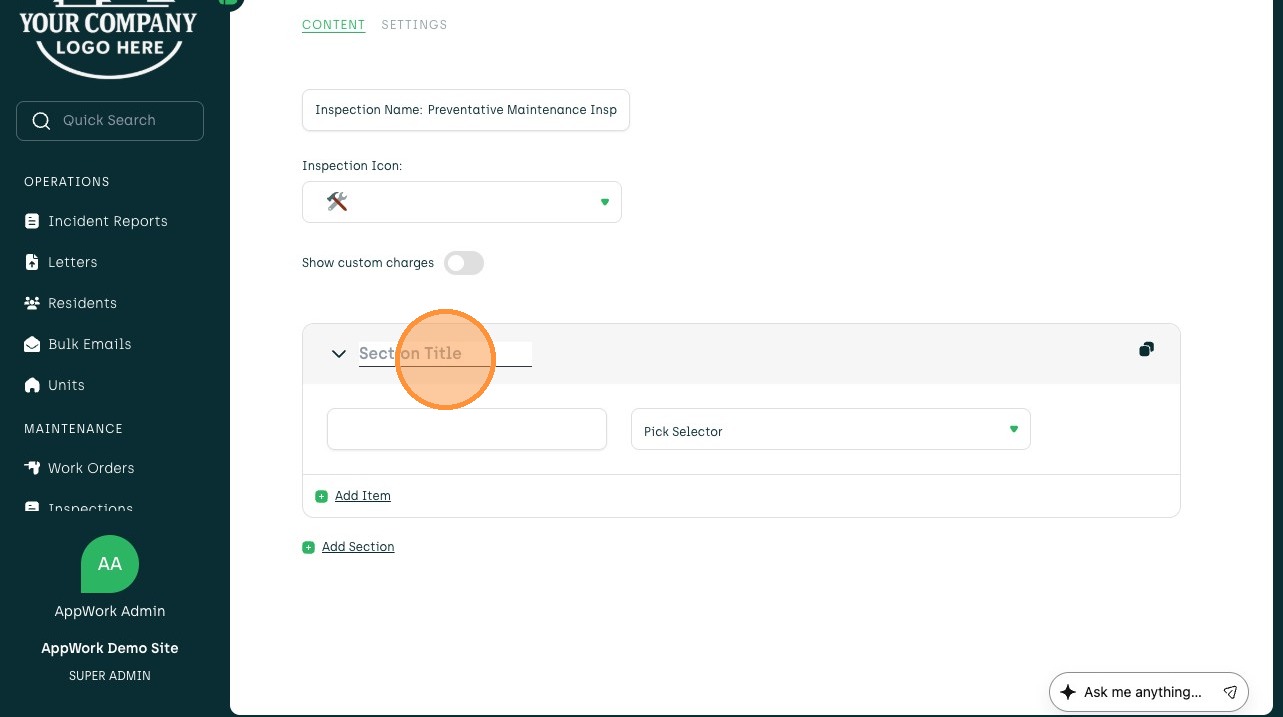
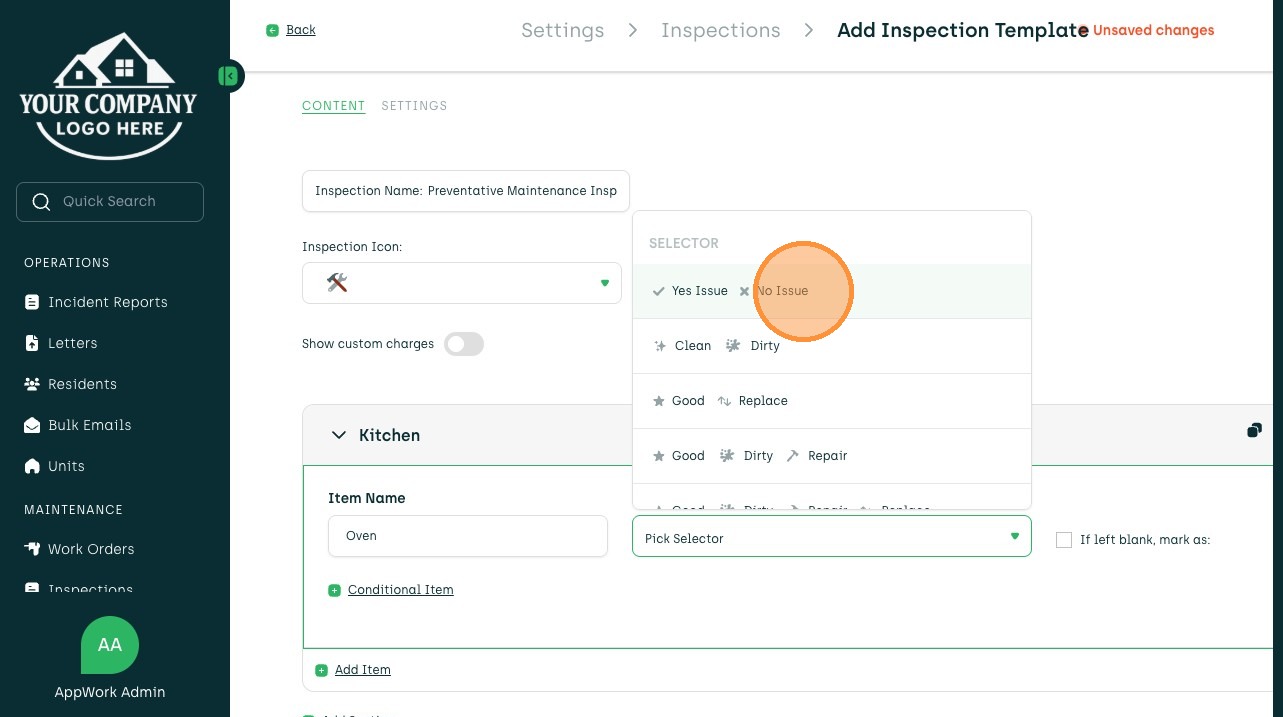
11. Name The Item/Appliance Inspecting
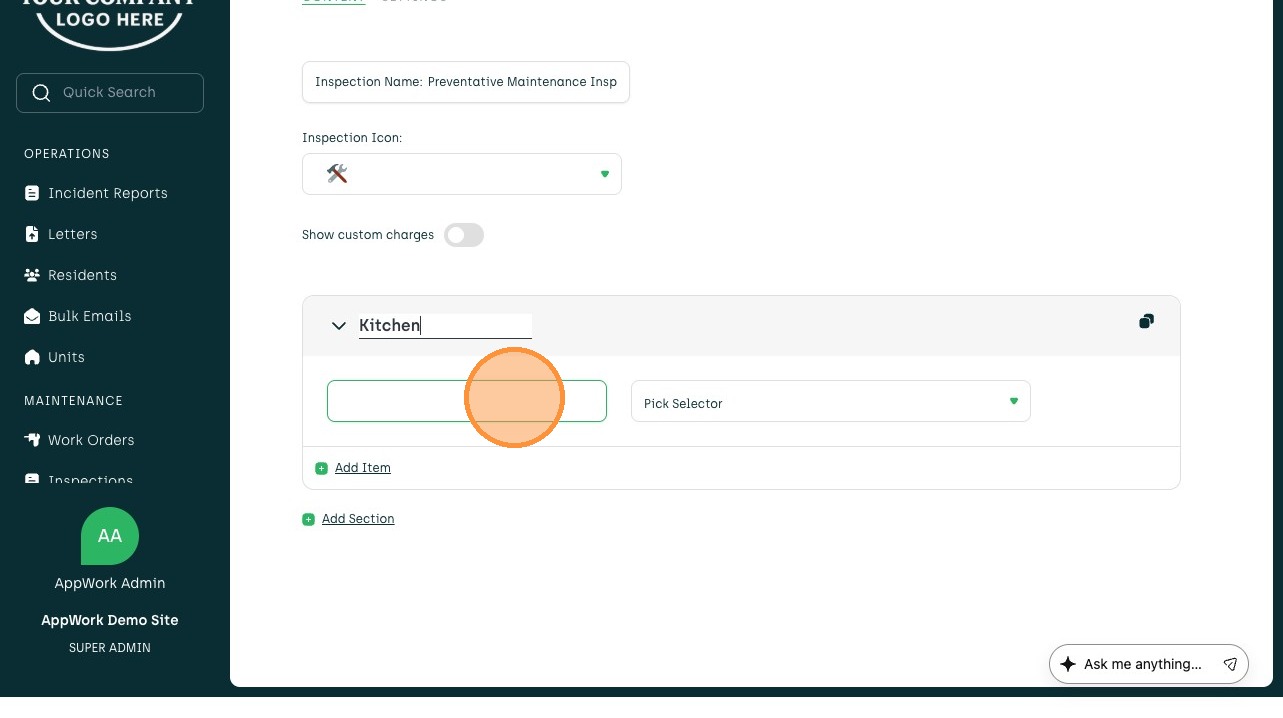
12. Select The Best Option For Selctions
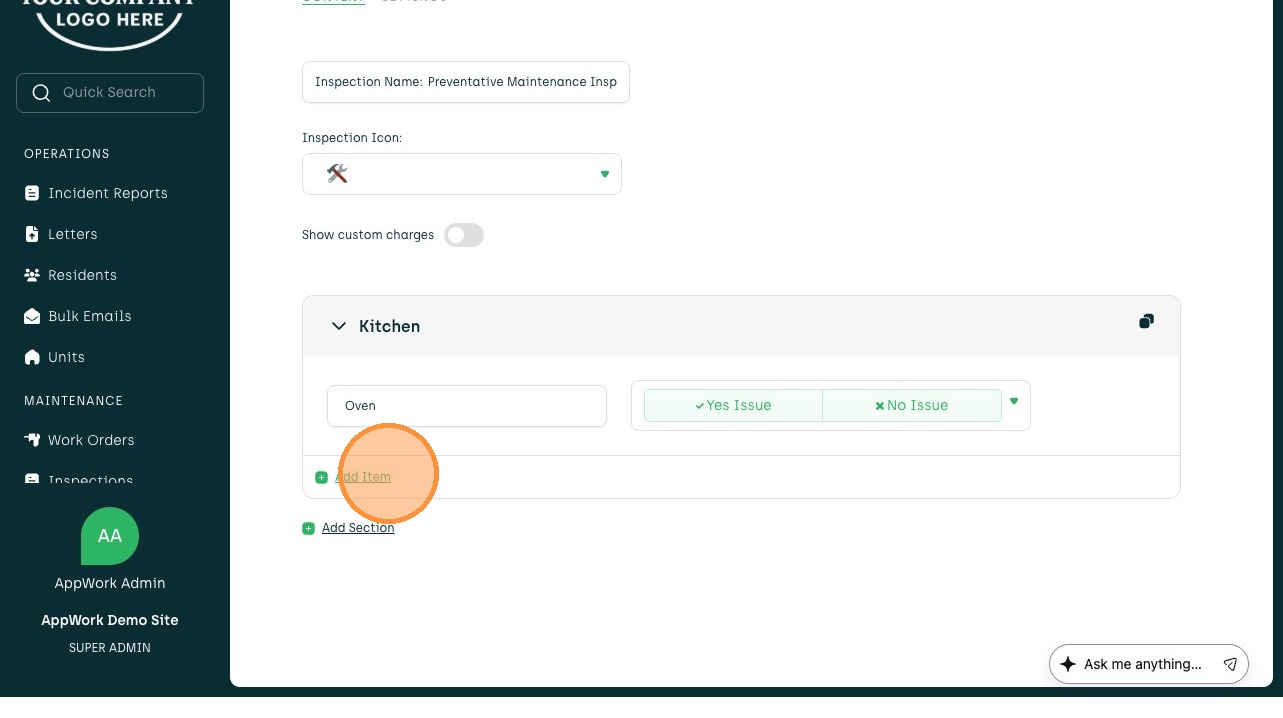
13. Select Add Item If There Are More Items in the Area
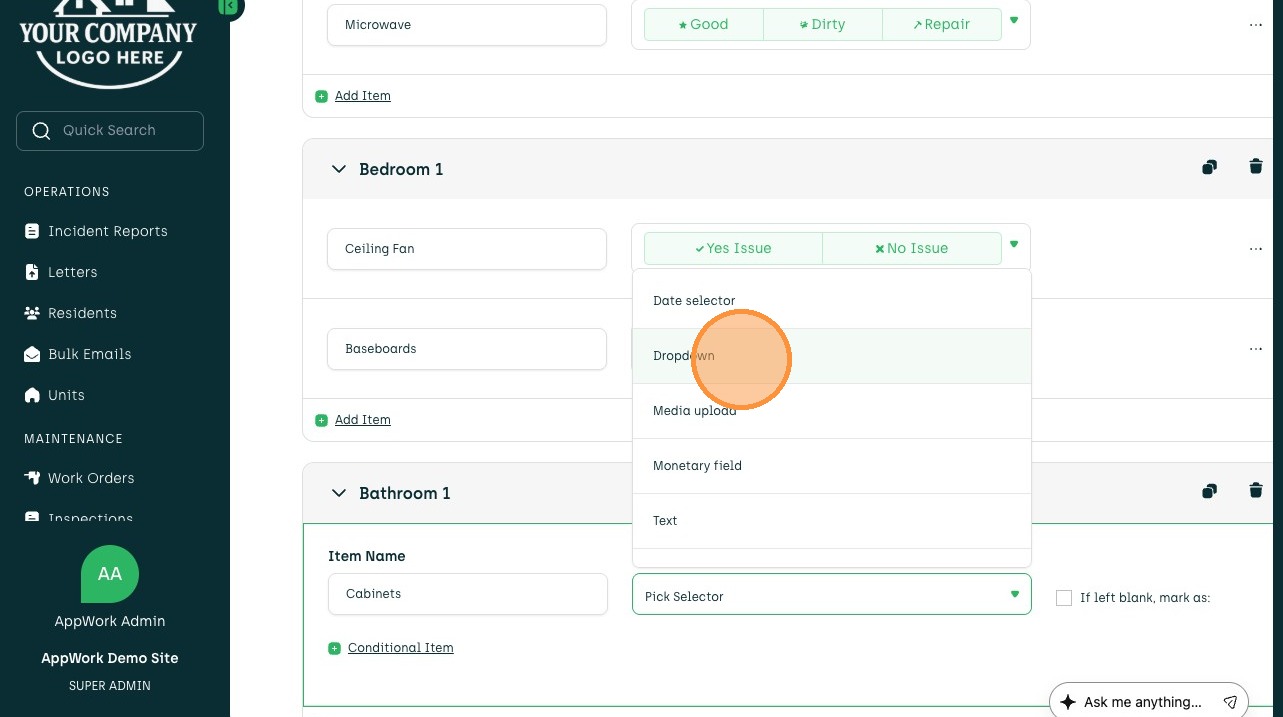
14. Click Item Name For Additional Item
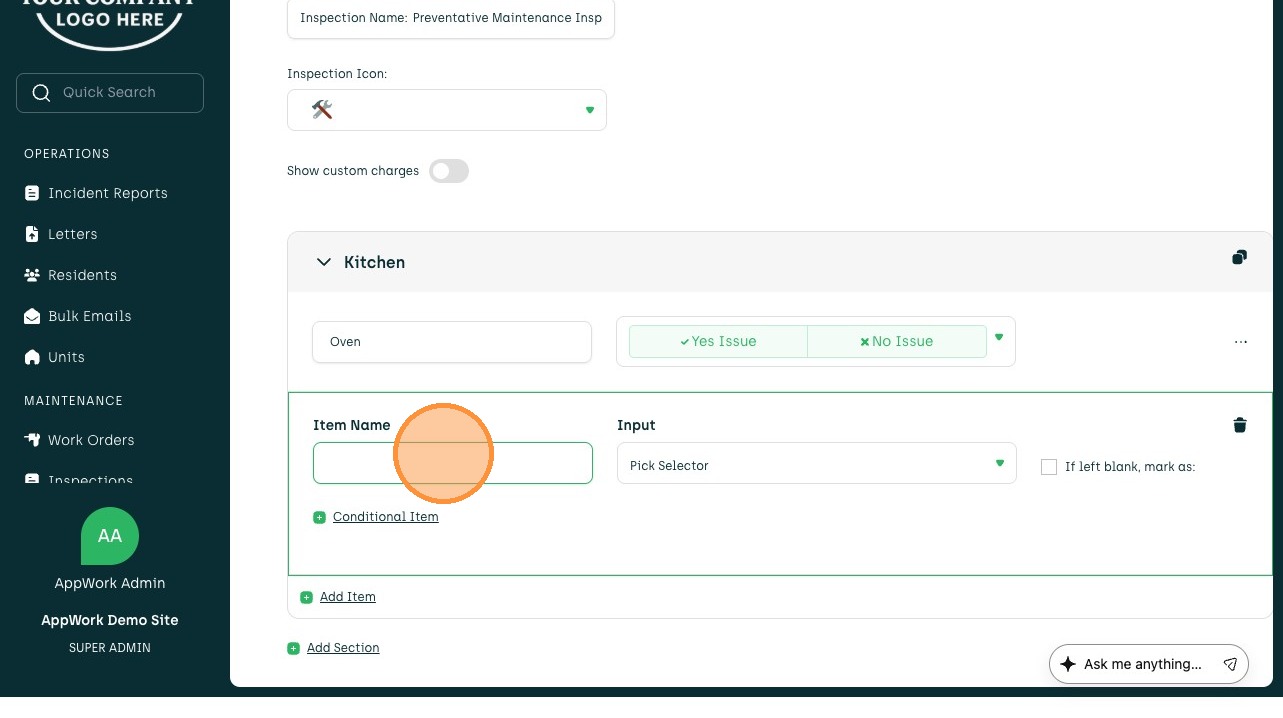
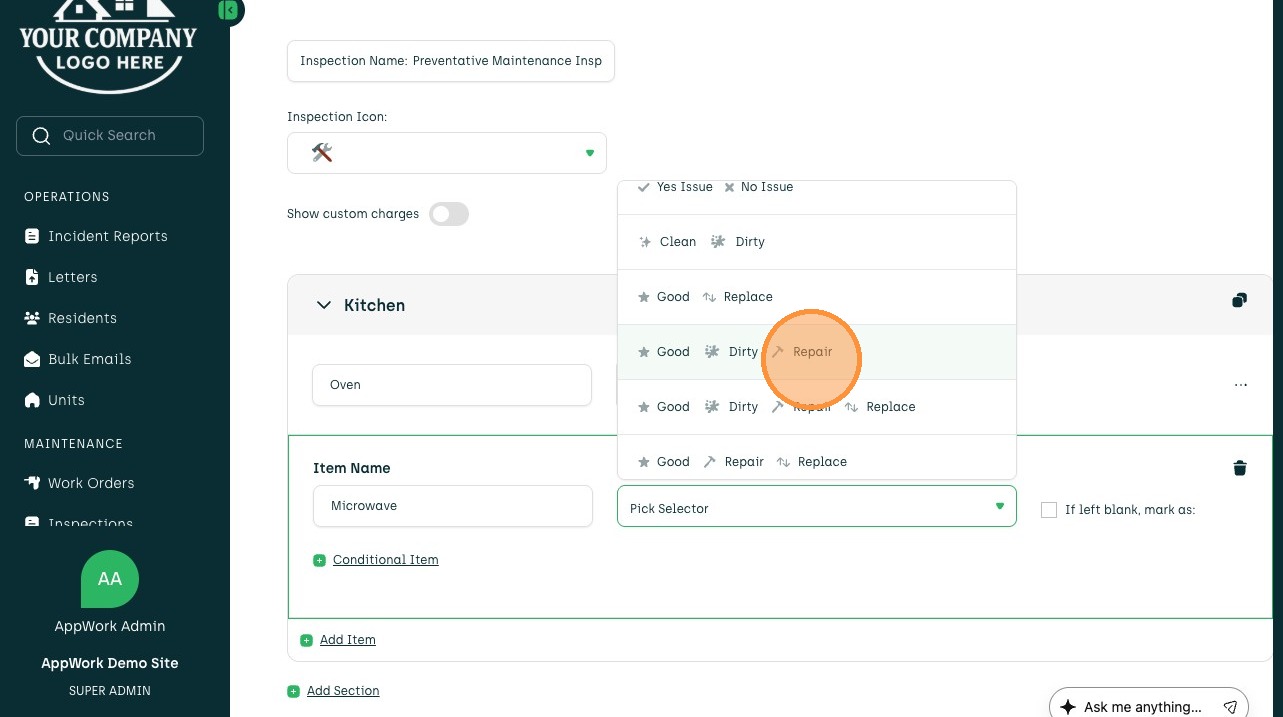
15. Choose Best Option For Selections
16. Click Add Section For New Area
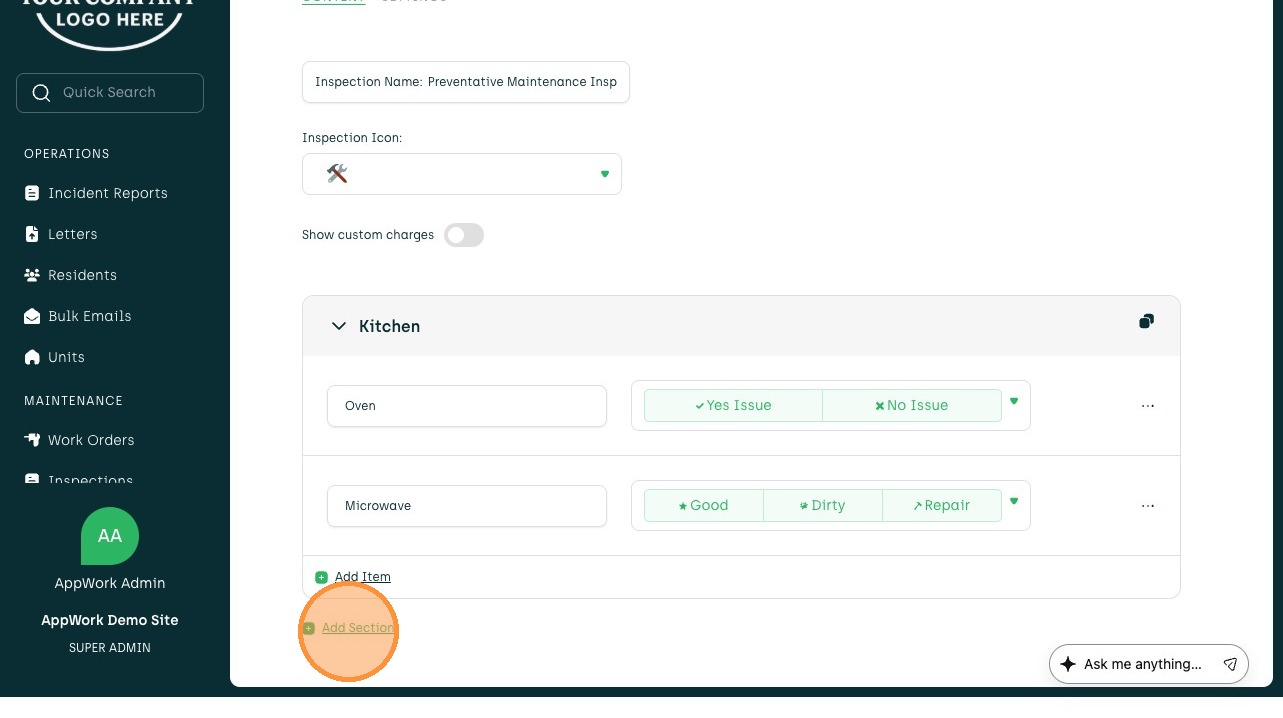
17. Follow The Steps Above Per Section
18. How To Use Dropdown/Write In Selector
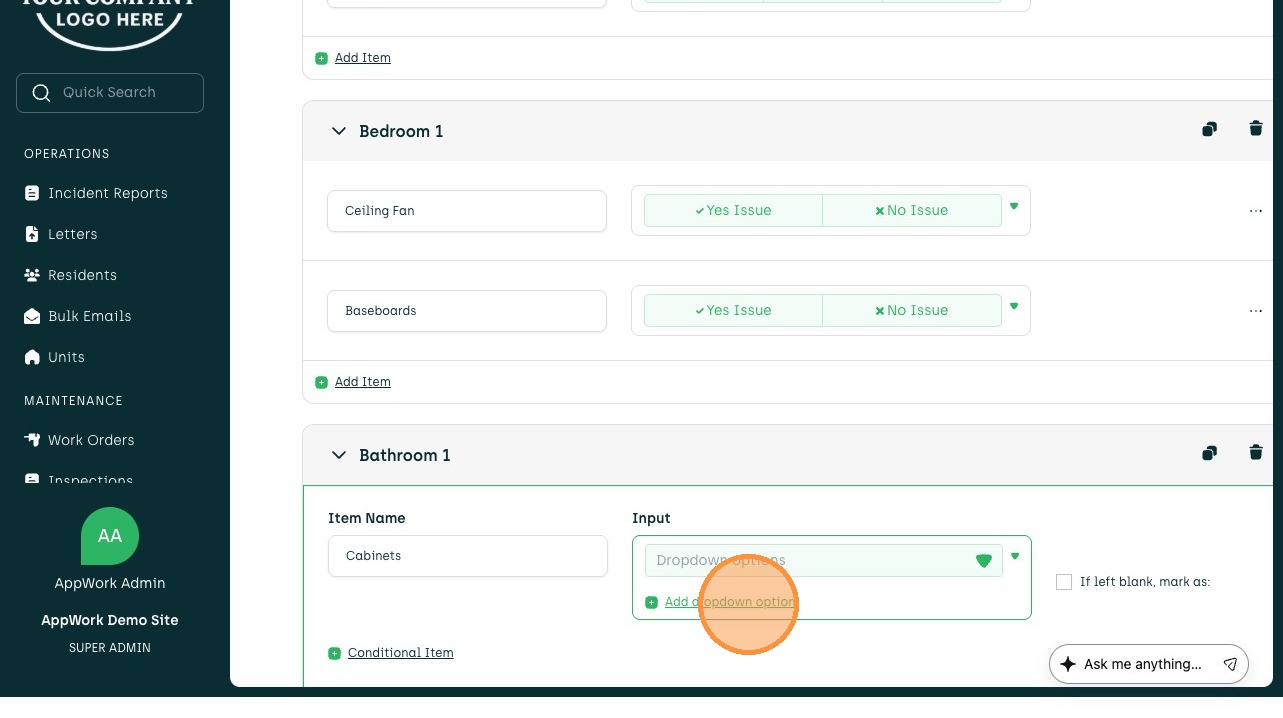
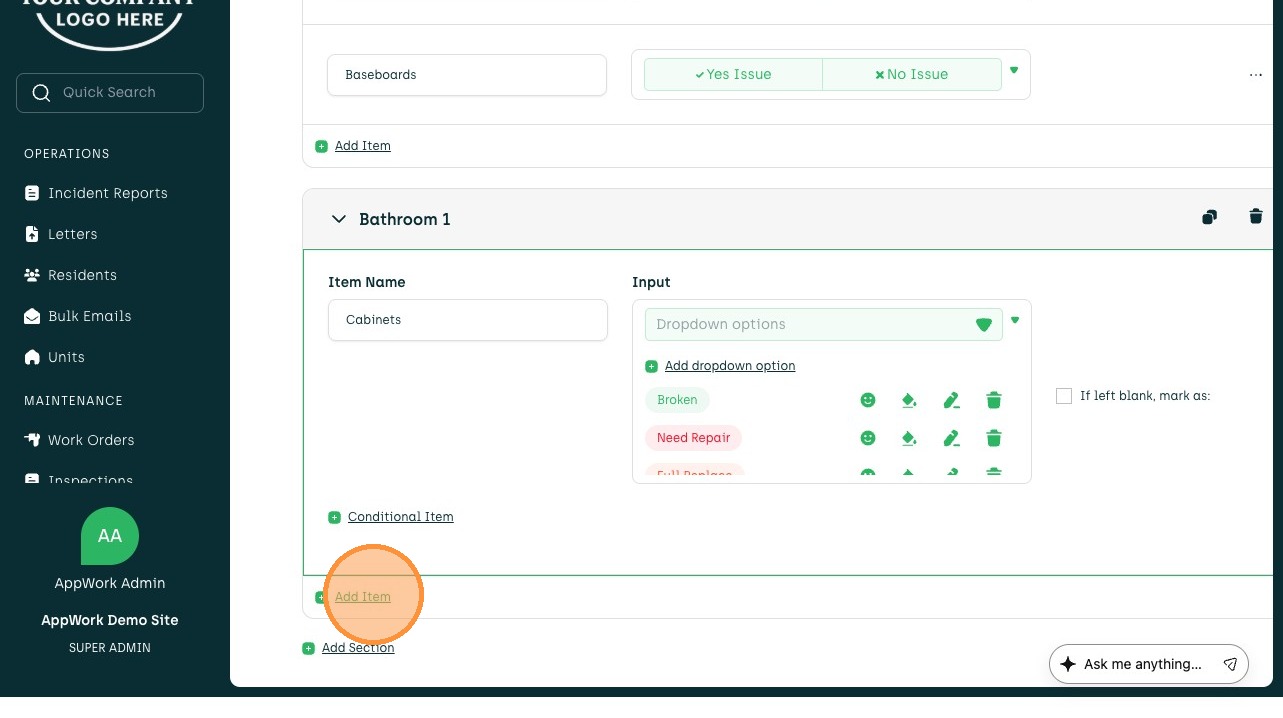
19. Click Add dropdown Option
20. Choose Save For Each Dropdown Option
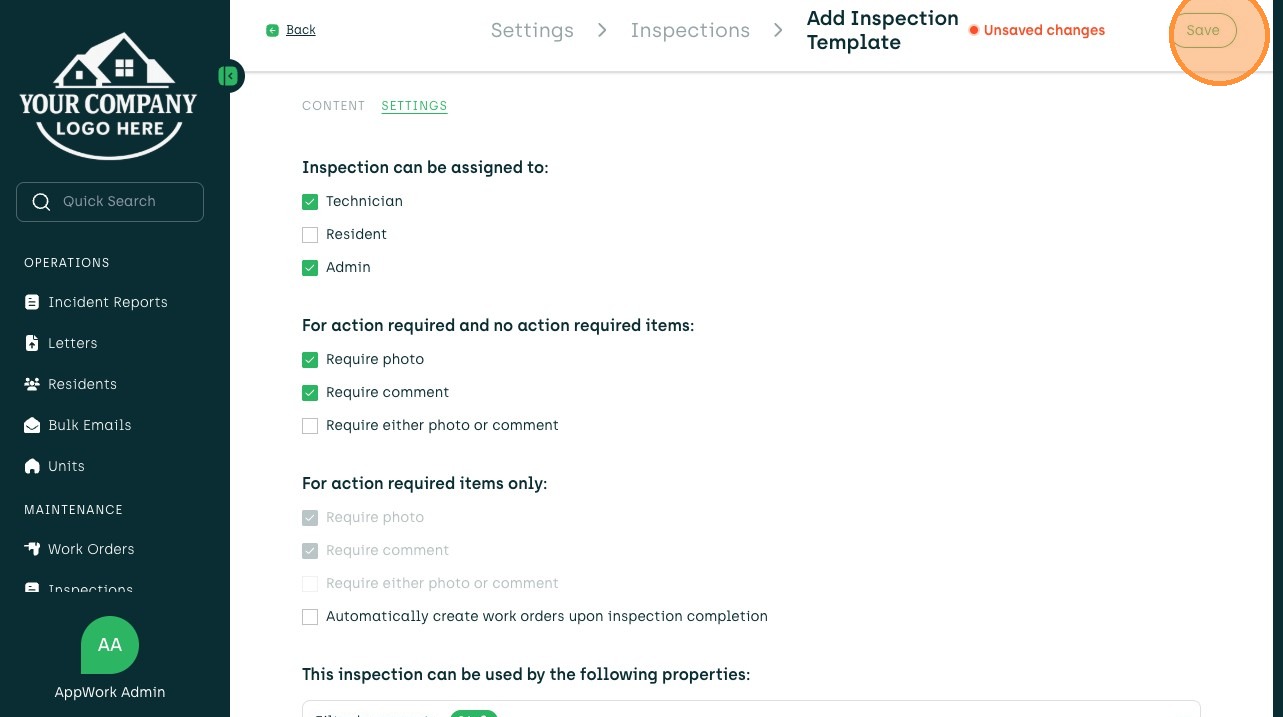
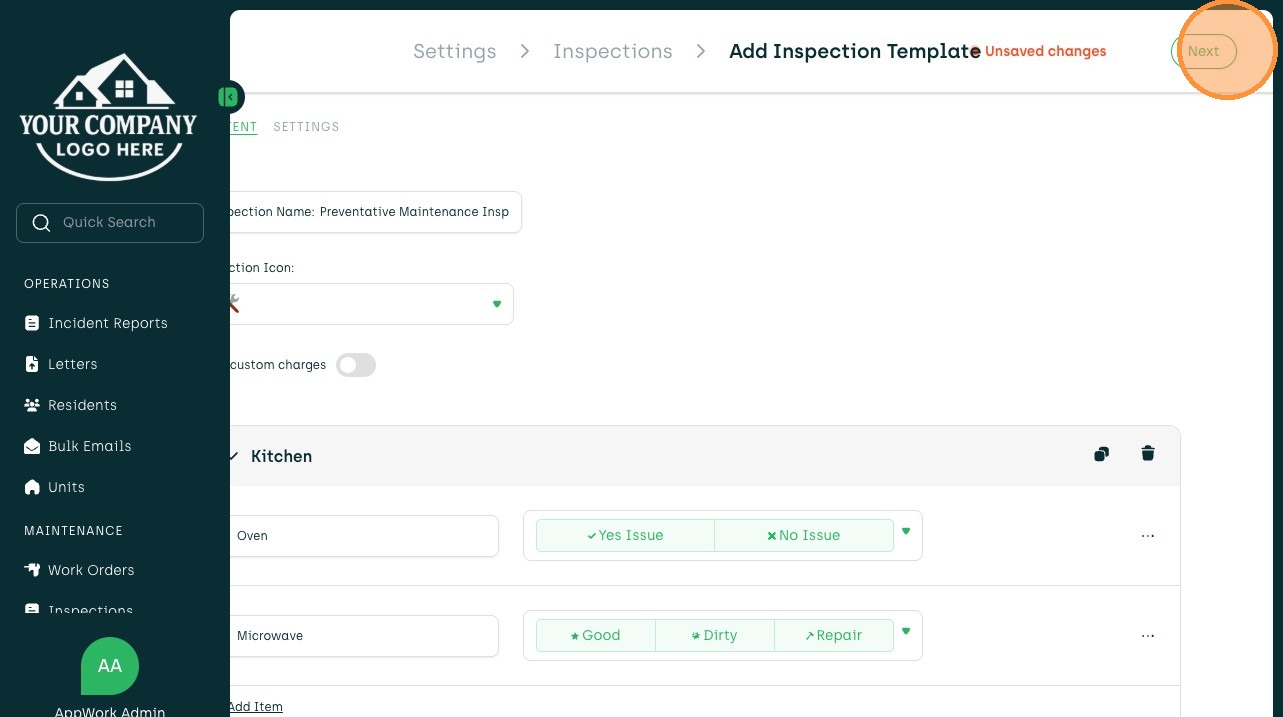
21. Scroll To The Top Of The Page Once Inspection is Built Out.
22. Select Next
23. Choose Desired Selections and Save