1. Navigate to Your Admin Portal
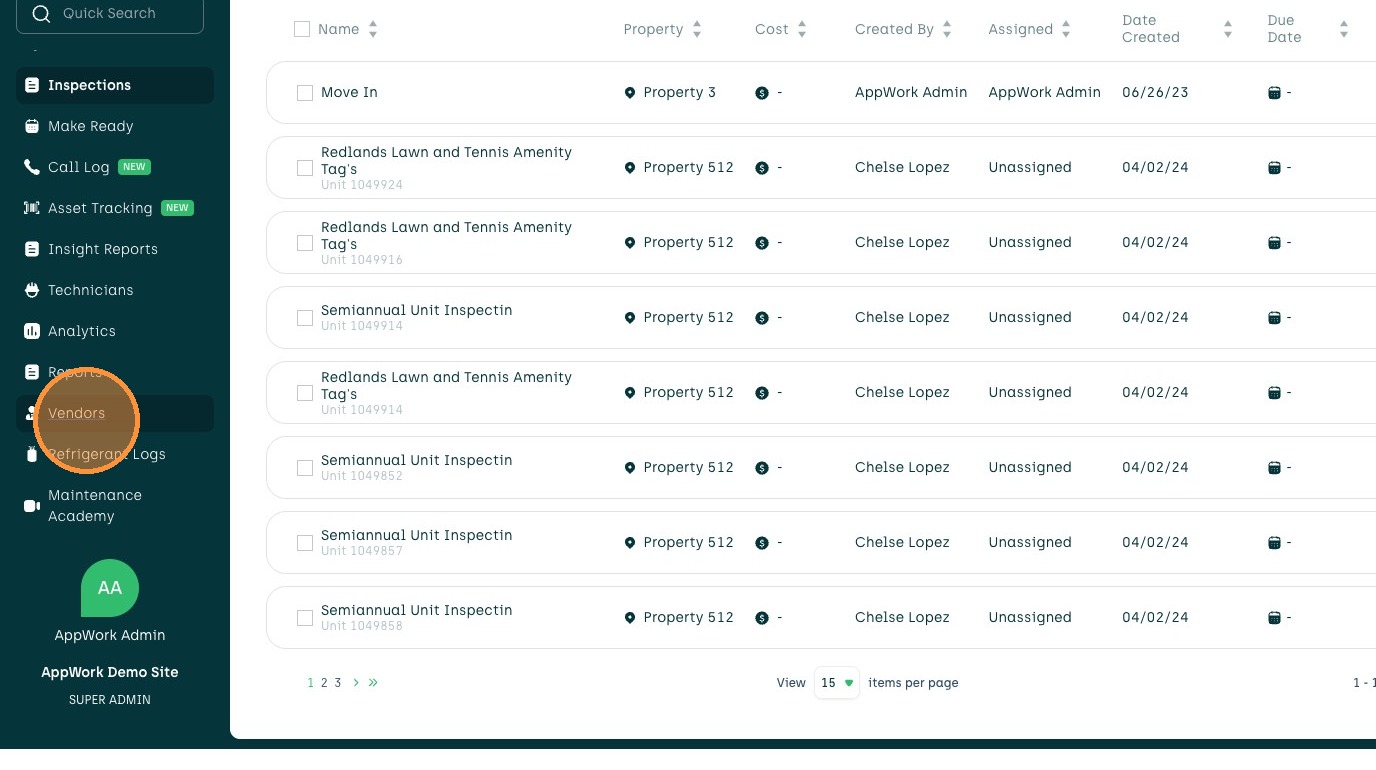
2. Click "Vendors"
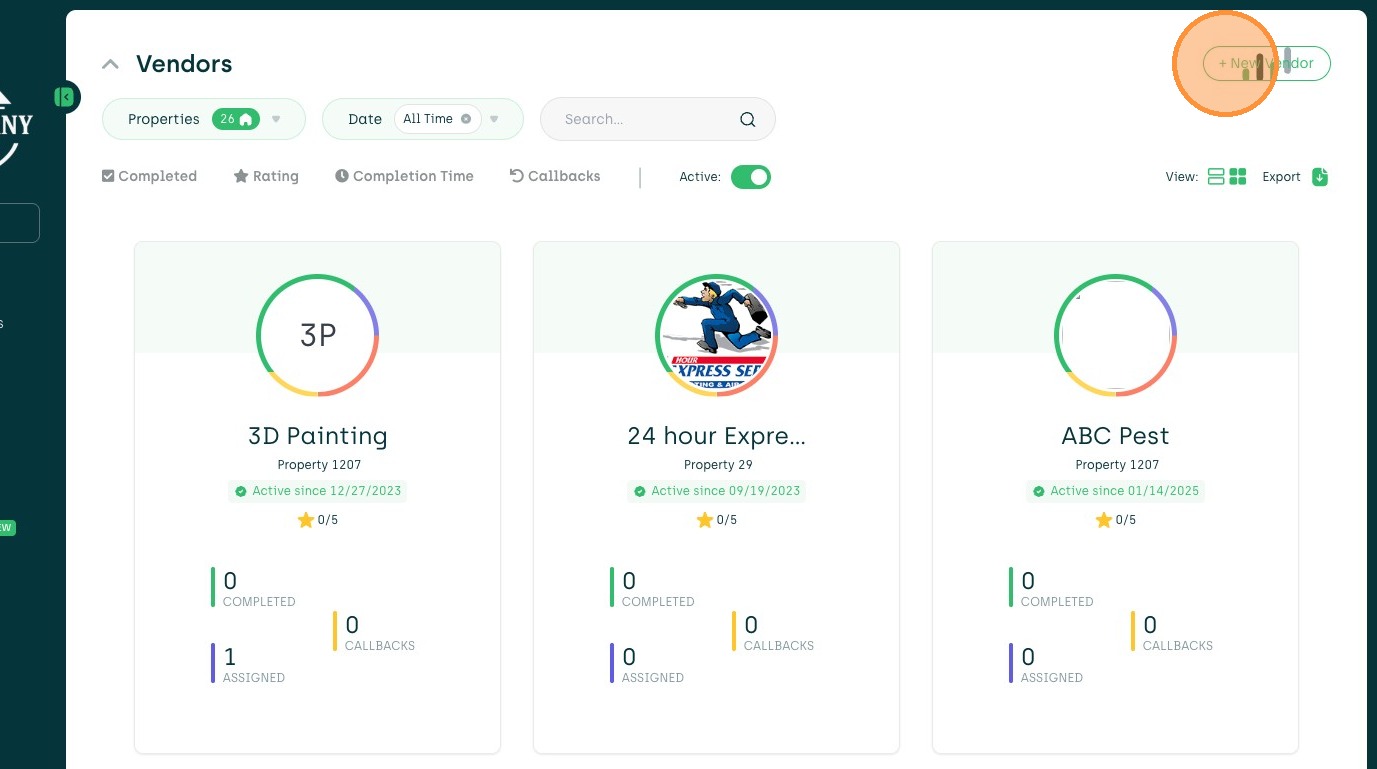
3. Click "+ New Vendor"
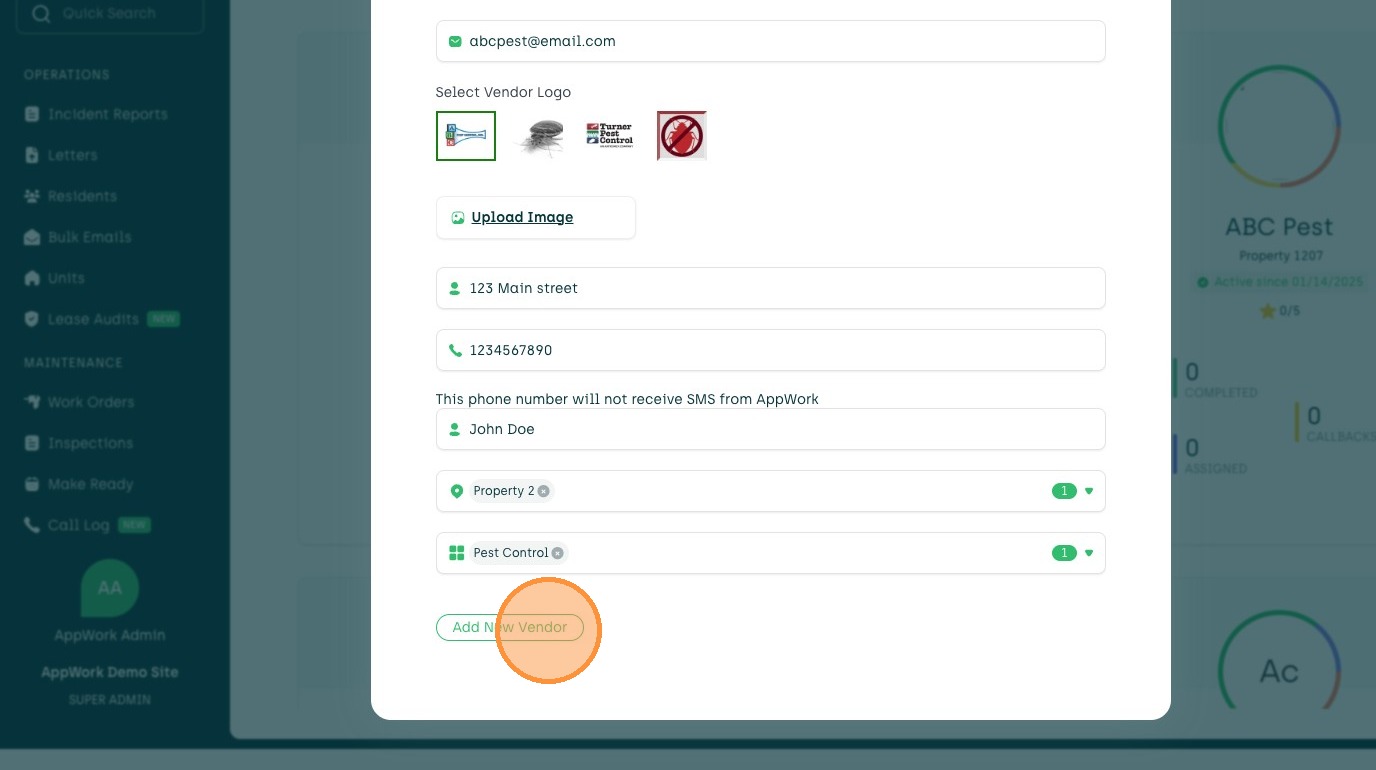
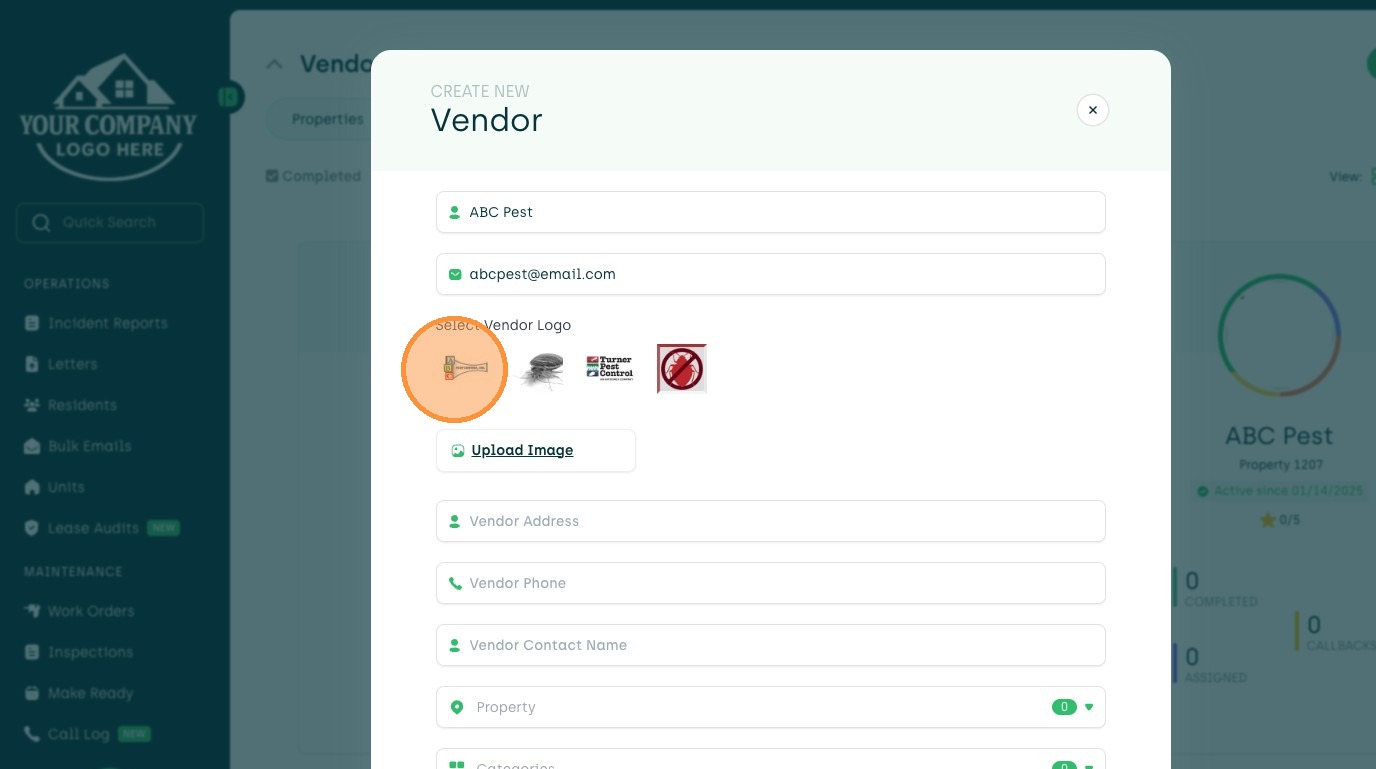
Vendor Profile Information
4. Enter the Vendor's Name in the Vendor Name field (Required)

5. Enter the Vendor's Email in the Vendor Email field (Required)

6. Select a vendor logo (Optional)
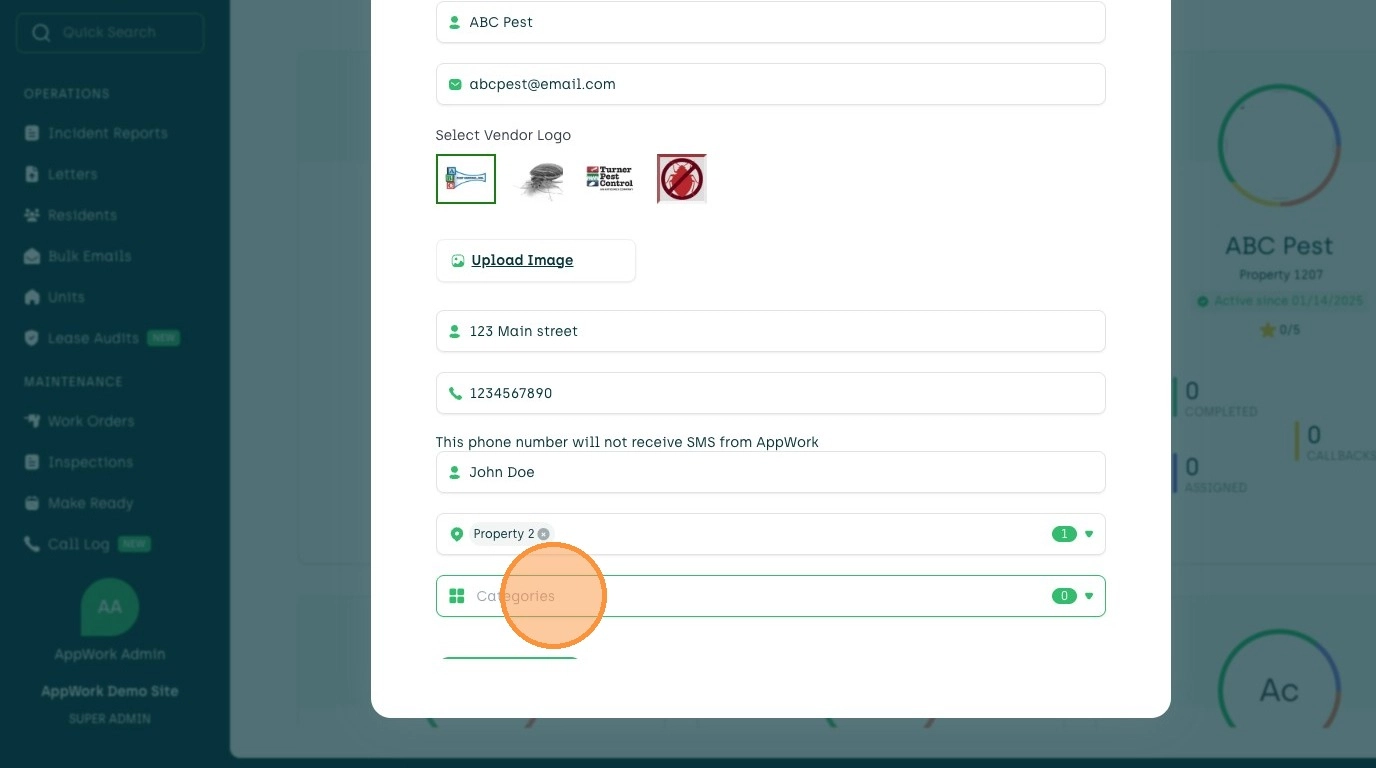
7. Enter the Vendor's Address in the Vendor Address field (Required)

8. Enter the Vendor's Phone Number in the Vendor Phone field (Required)

9. Enter the Vendor's Point of Contact in the Vendor Contact Name field (Required)

Property and Category Assignment
10. Select Desired Property(s) from the Property dropdown (Required)

11. Enter the Vendor's Category in the Categories field (Required)
Vendor Creation Completion
12. Click "Add New Vendor"