 Quick Actions
At the very top of the modal, there are four buttons:
- Cancel: This action puts the work order into the archives.
- Print: This action will enable you to either print the work order as a physical copy or print it as a PDF.
- Open in a new tab: This action will open the work order as a page, instead of as a modal, in a new tab.
General Information
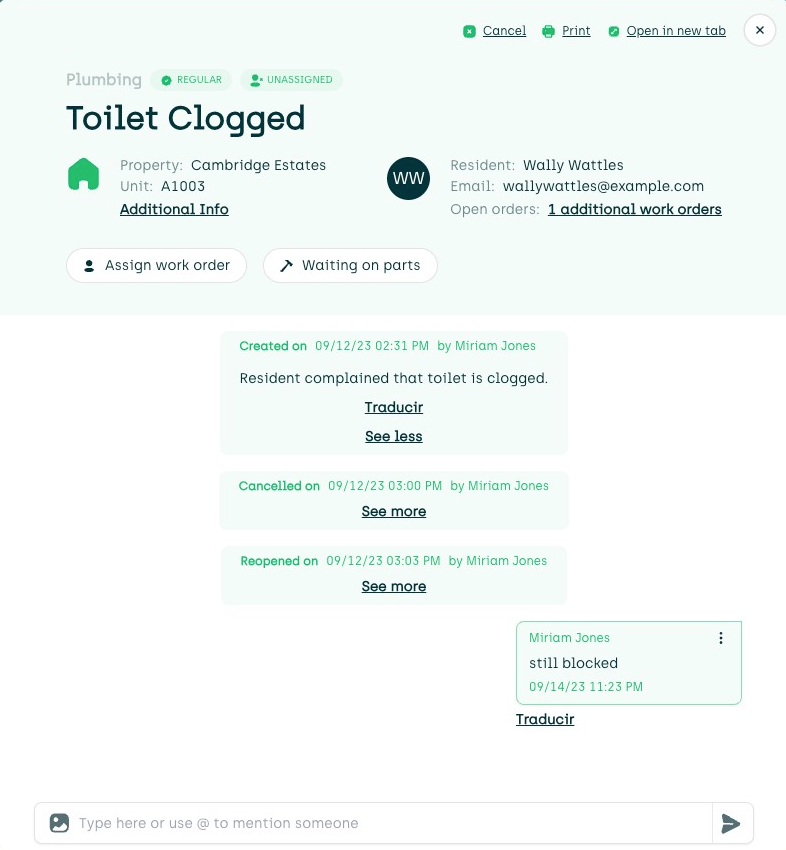
In its top section, the modal displays some basic information. In the example above:
The word "Plumbing" indicates the category, and "Toilet Clogged" indicates the subcategory. It is possible to change the category and subcategory by tapping on the category name.
Regular is the priority status of the work order. It is possible to change this to emergency or violation by tapping on the status label.

Unassigned changes to "assigned" after a technician is given the order.
Property Information
Next to the house icon, you'll find all the property information.
- The property name
- The unit number
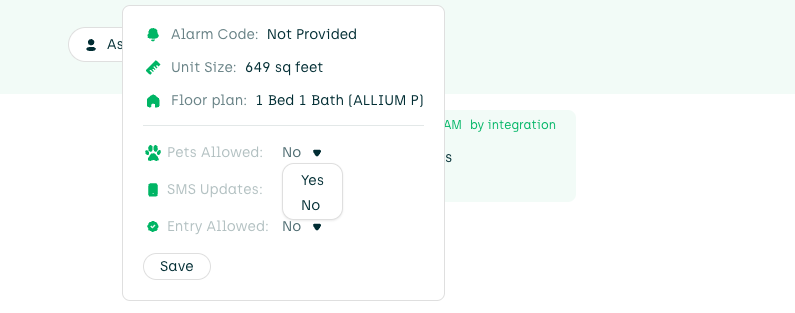
- The additional info link reveals more about the property:
- The alarm code
- The unit size in square feet
- The floorplan name
- Pets allowed (yes or no)
- SMS Updates (yes or no)
- Entry allowed (yes or no)
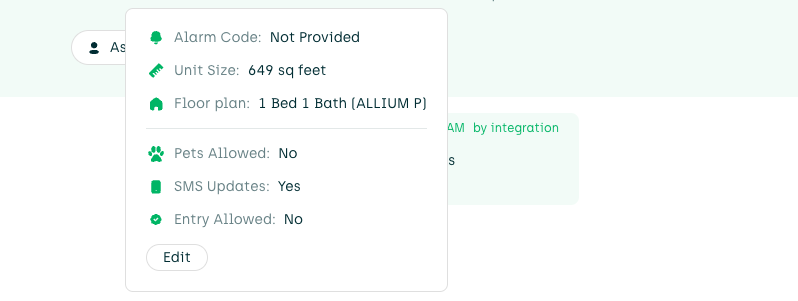
If you select the edit button, you can change the bottom three pieces of information.
Resident Information
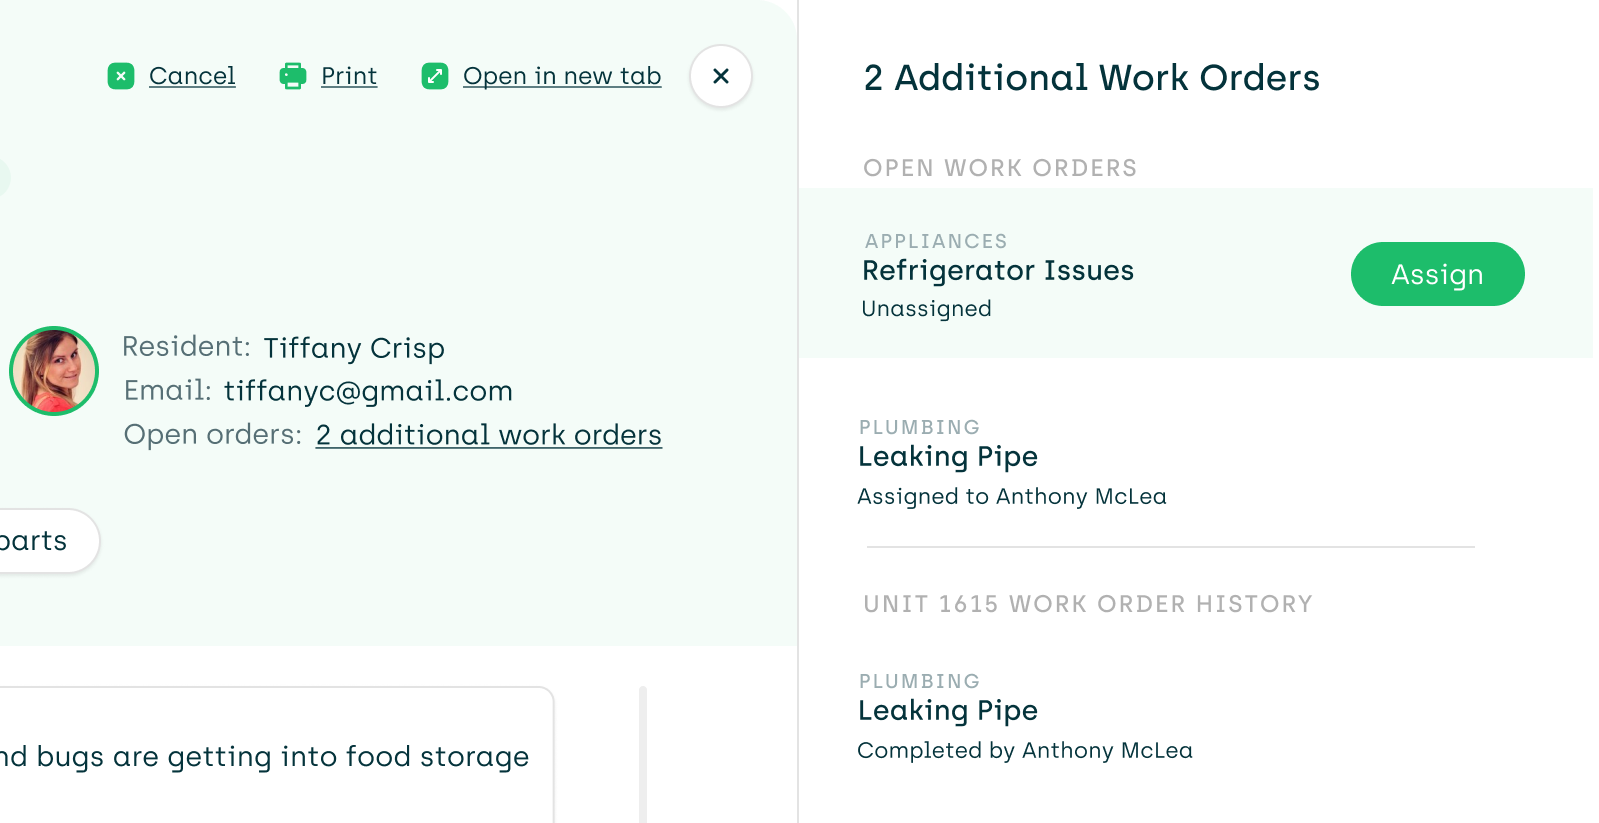
You'll find the resident information to the right of the property information.
- A picture of the resident (if provided)
- The name of the resident
- The resident's email
- The number of any additional open work orders (this helps when assigning). You will also see a history of past work orders.
Assignment Information
If the work order is unassigned, you can assign it here by selecting the "Assign Work Order" button. That will open a new panel to the right.

As you can see, you will have the option to assign to either a technician or vendor. Our AI will recommend the best options and show you other available technicians. If there are multiple open work orders for the same unit, you will be given the opportunity to assign all of the open work orders to the same technician.
Waiting on Parts
If you need to mark the work order as waiting on parts, just select the waiting on parts button. This will open a new panel to the right.
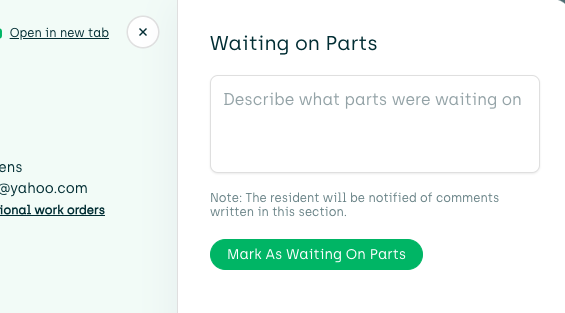
Add your comments and select the button. This will change the status of the work order.
Making Comments
In the comment field, you have the option to do any of the following:
- Add a simple text note
- Mention another team member or resident by using the "@" symbol
- Upload a photo or video
- Upload multiple photos from an existing gallery
Work Order Timeline
The timeline stores all of the information about the work order's history. Residents, admins, and technicians can all make comments on the timeline. This is also where you'll see:
- Who created the order and when
- The resident's description of the issue
- Any responses made by the technician
- Any photos or videos uploaded by either the resident or the technician
- Notes about any changes to the status of the work order (for example, if it was marked as waiting on parts).
- It's possible to mention a resident, admin, or technician by typing "@" and then selecting their name.
Every comment, photo, and video is timestamped for accurate record keeping.